Creating Library
Creating API libraries involves to assemble and organize API requests into folders or categories for better management. These libraries streamline the testing and development by enabling easy reuse and execution of common API interactions. You can create a new library from scratch or import existing ones from tools like Postman, Swagger, or Open API which enhances the efficiency, collaboration and organization in your workflow. Let us see how to create a library:
Creating a new Library from scratch
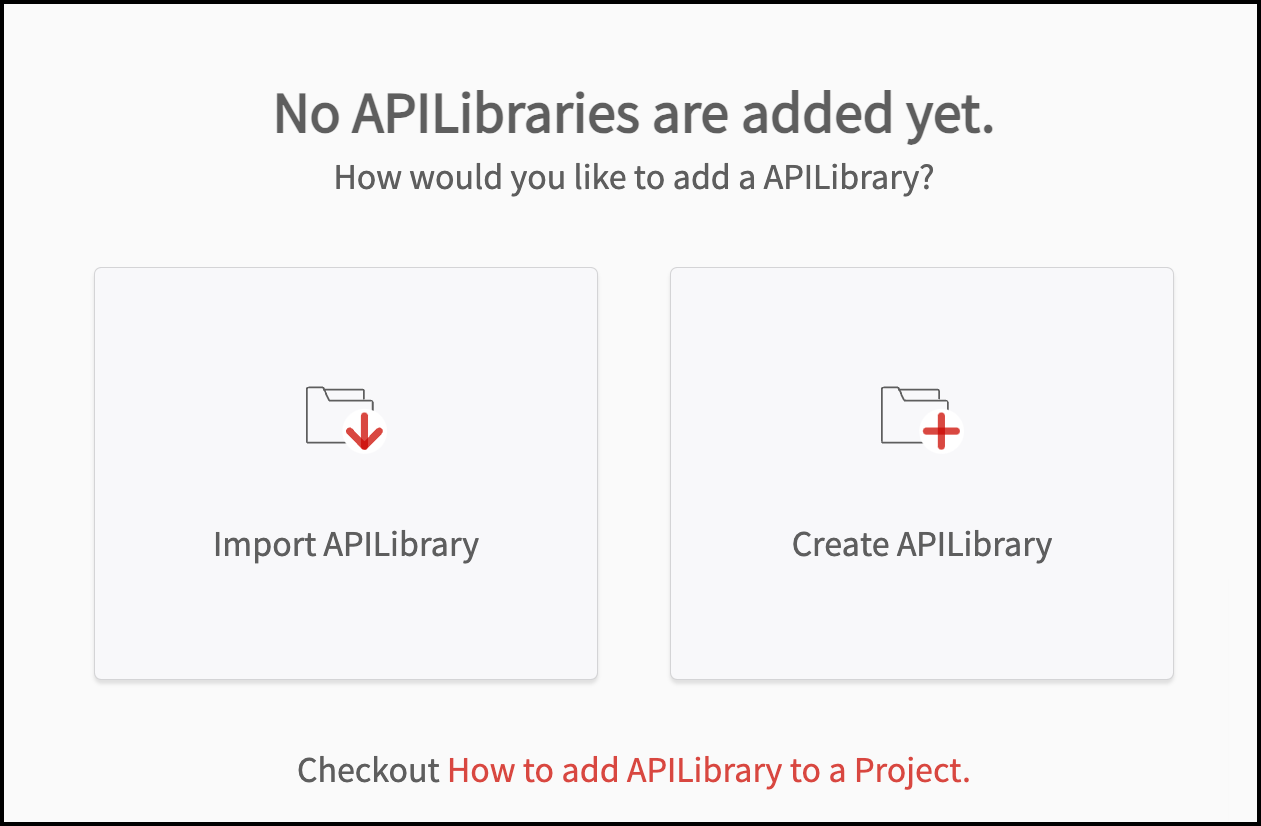
Step 1: When you select a project, click on the 'API Library' section in the sidebar navigation panel, and click on either the either "Create API Library" or "Import API Library".
Step 2: When you click on the "Create API Library" button, fill in the name, description, and visibility. To finalize the process, click on the "Create" button.
Step 3: If you select "Import API Library" enter a name and choose visibility settings. Click "Continue" button to save and proceed with import options: Raw Text, File, or Link.
Note: Names must start with a letter, and only '_' and '-' special characters are allowed.
Regarding visibility :
Personal: Accessible only to you.
Shared: Visible to all those invited by you.
Organizational: Viewable by all those associated with the project.
Note:
- Raw Text Option: Paste the desired script in the text box and click on the "Confirm" icon to import.
- File Option: Drag and drop a YAML or JSON file, or upload it from your system. When you have uploaded the file, click on the "Confirm" icon.
- Link Option: Enter the URL in the text box and click "Confirm" to complete the import process.
- There are three visibility settings you can choose:
- Personal: Only the User (creator) can view the library.
- Shared: Visible to all who the creator (user) has shared the project with.
- Organizational: Visible to all Users who have the access to the project.