PostQode Quickstart
Welcome to PostQode! This quickstart guide will help you to create and manage your projects and test suites effectively.
Sign In
Sign in to your account on PostQode by entering your credentials on the login page. If you don't have an account yet,click "Sign Up" link at the bottom of the page to get started.

Onboarding Tour
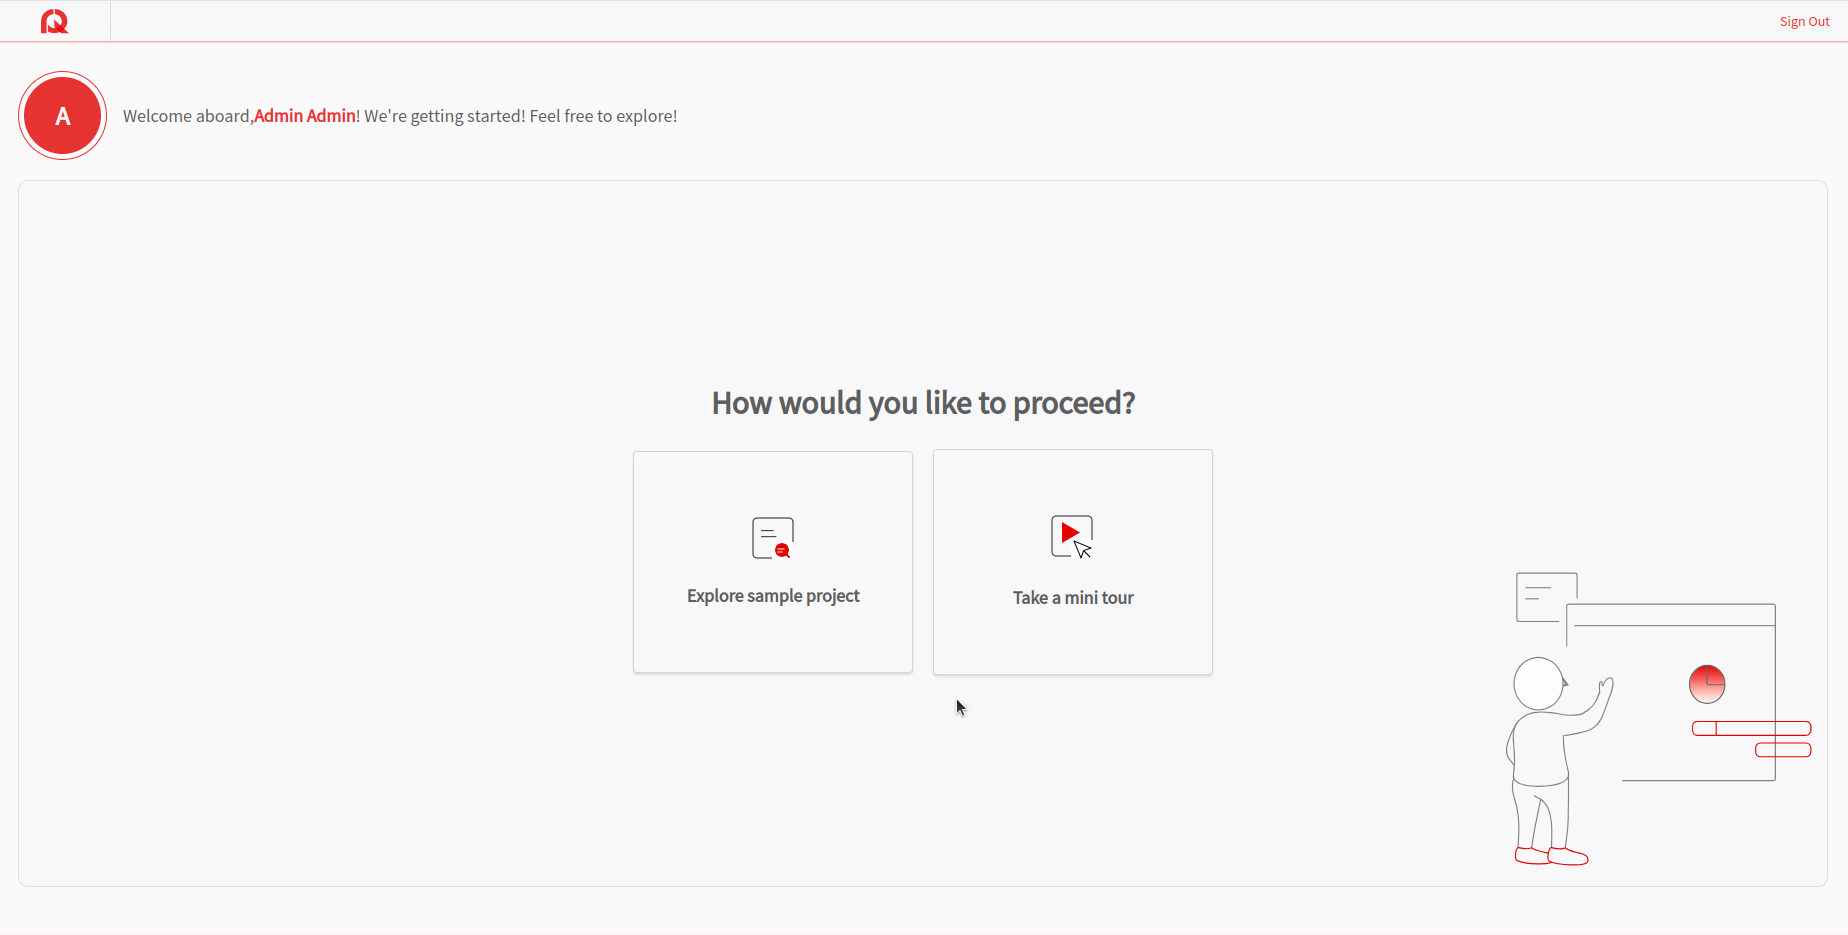
Once you login, you will see two options on the screen, "Explore sample projects" and "Take a mini tour" to understand the major functionalities of PostQode.
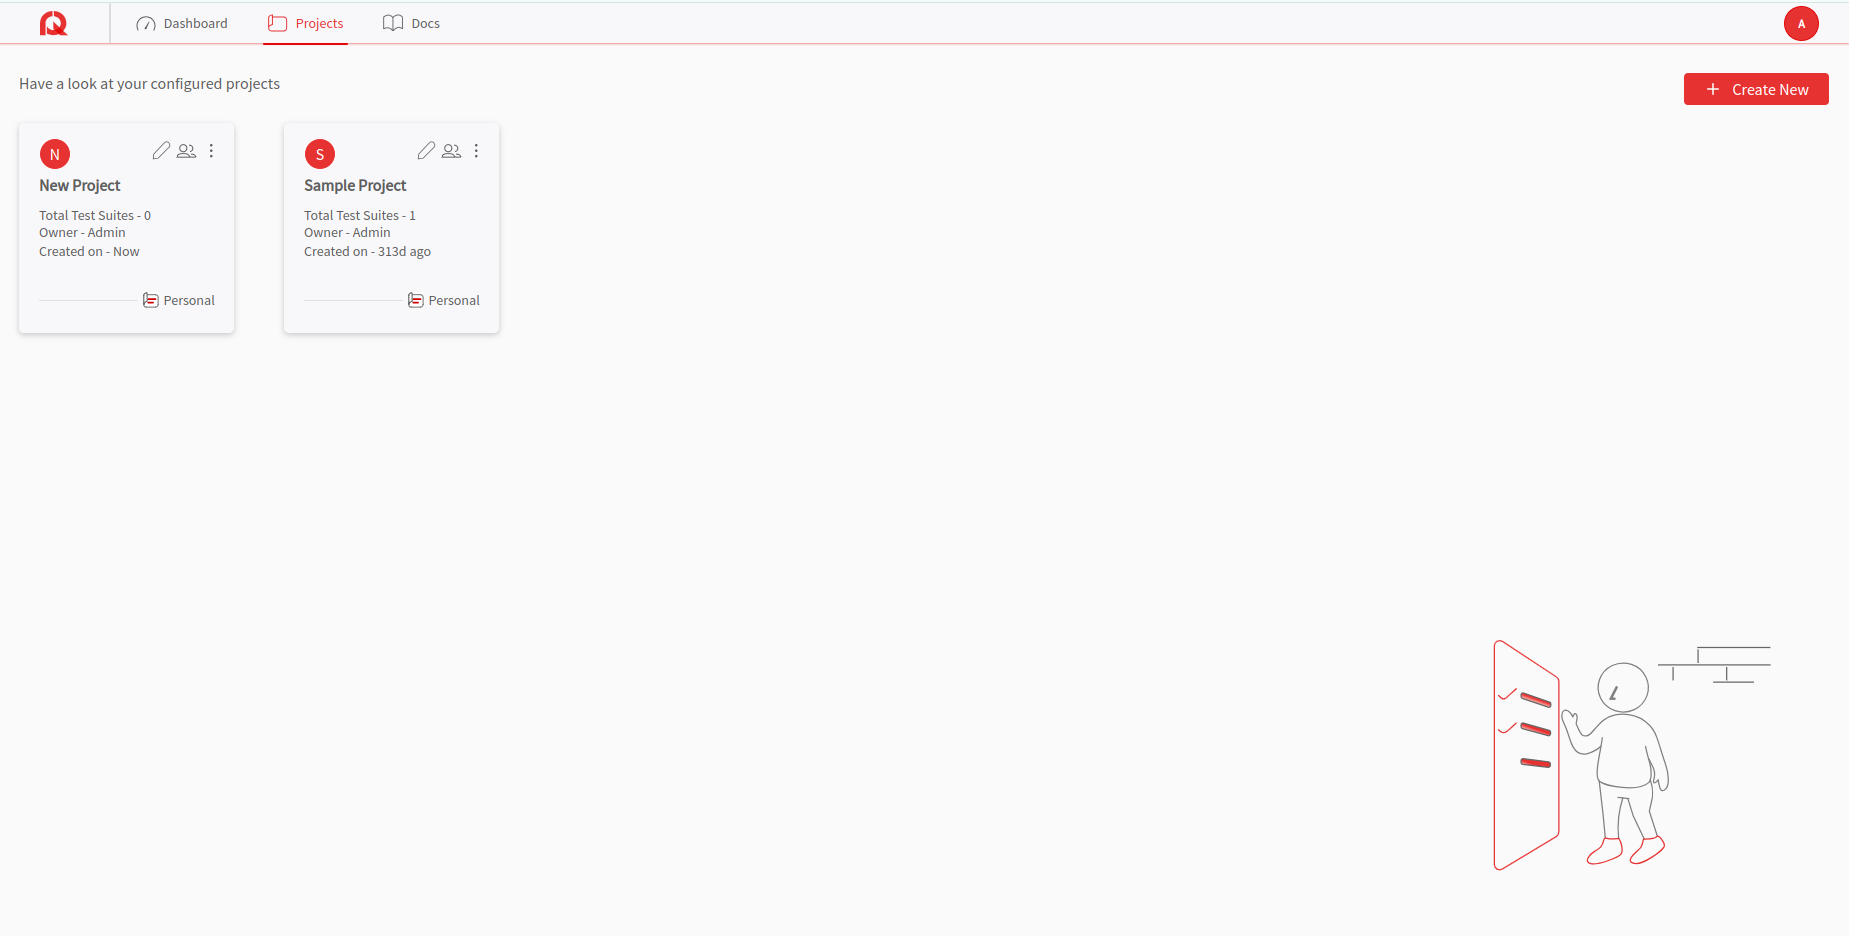
Navigate to the Project Listing Page
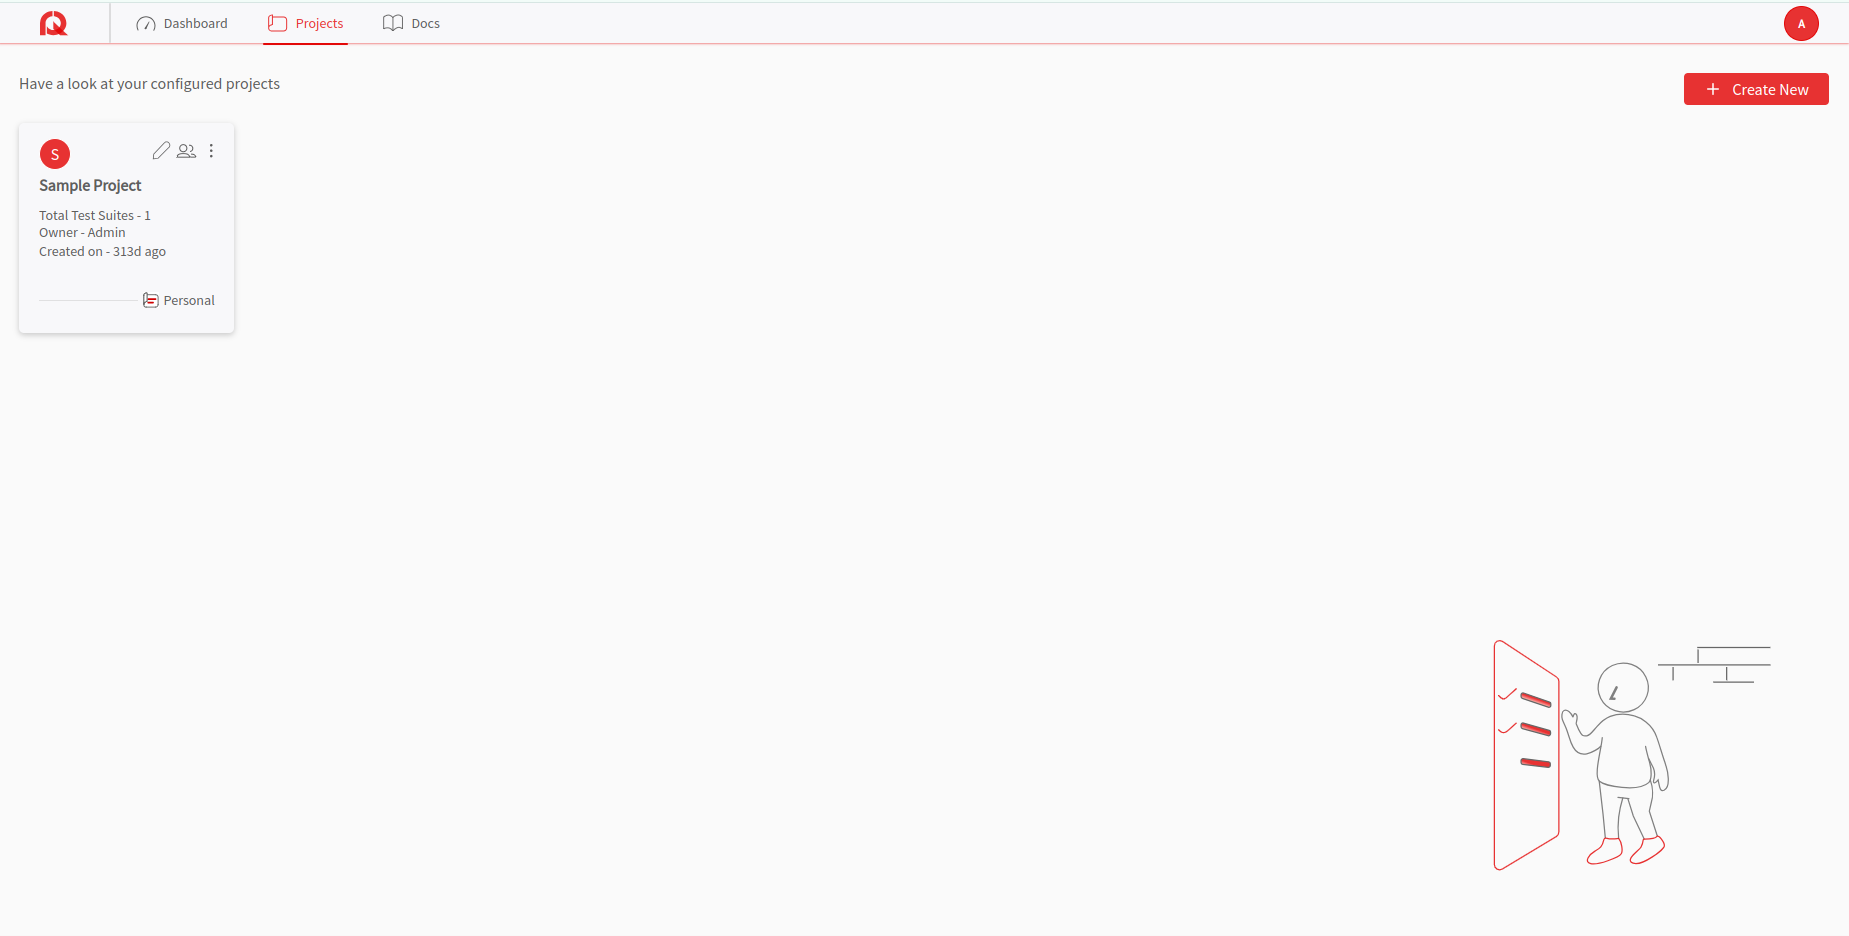
After completing the onboarding tour, you will be directed to your project dashboard. When you click on the "Projects" tab on the header, you will see a list of projects.
Create a New Project
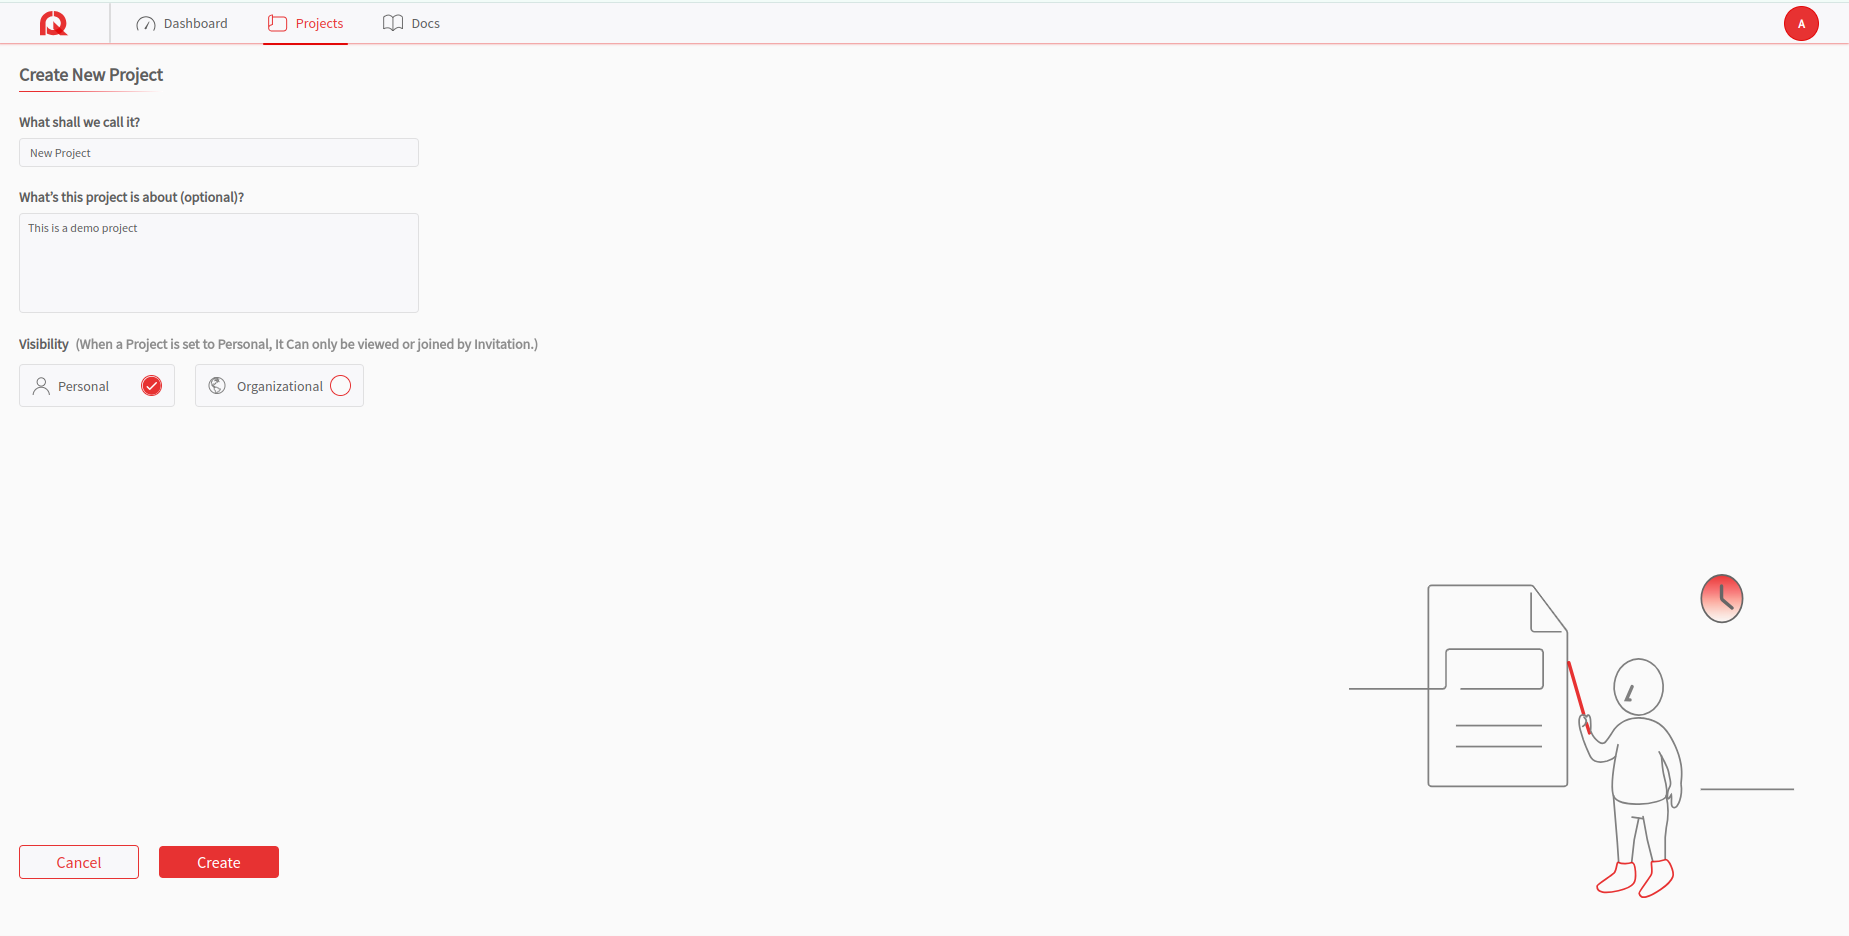
To create a new project, click on the "Create New" button. Fill in the necessary details, such as the project name, description, and other required information.Click the "Create" button to create a new project. A new project will be created.
Note: When you create a new organization account, a sample project is created by default for user reference. This helps you to understand how the projects are structured.
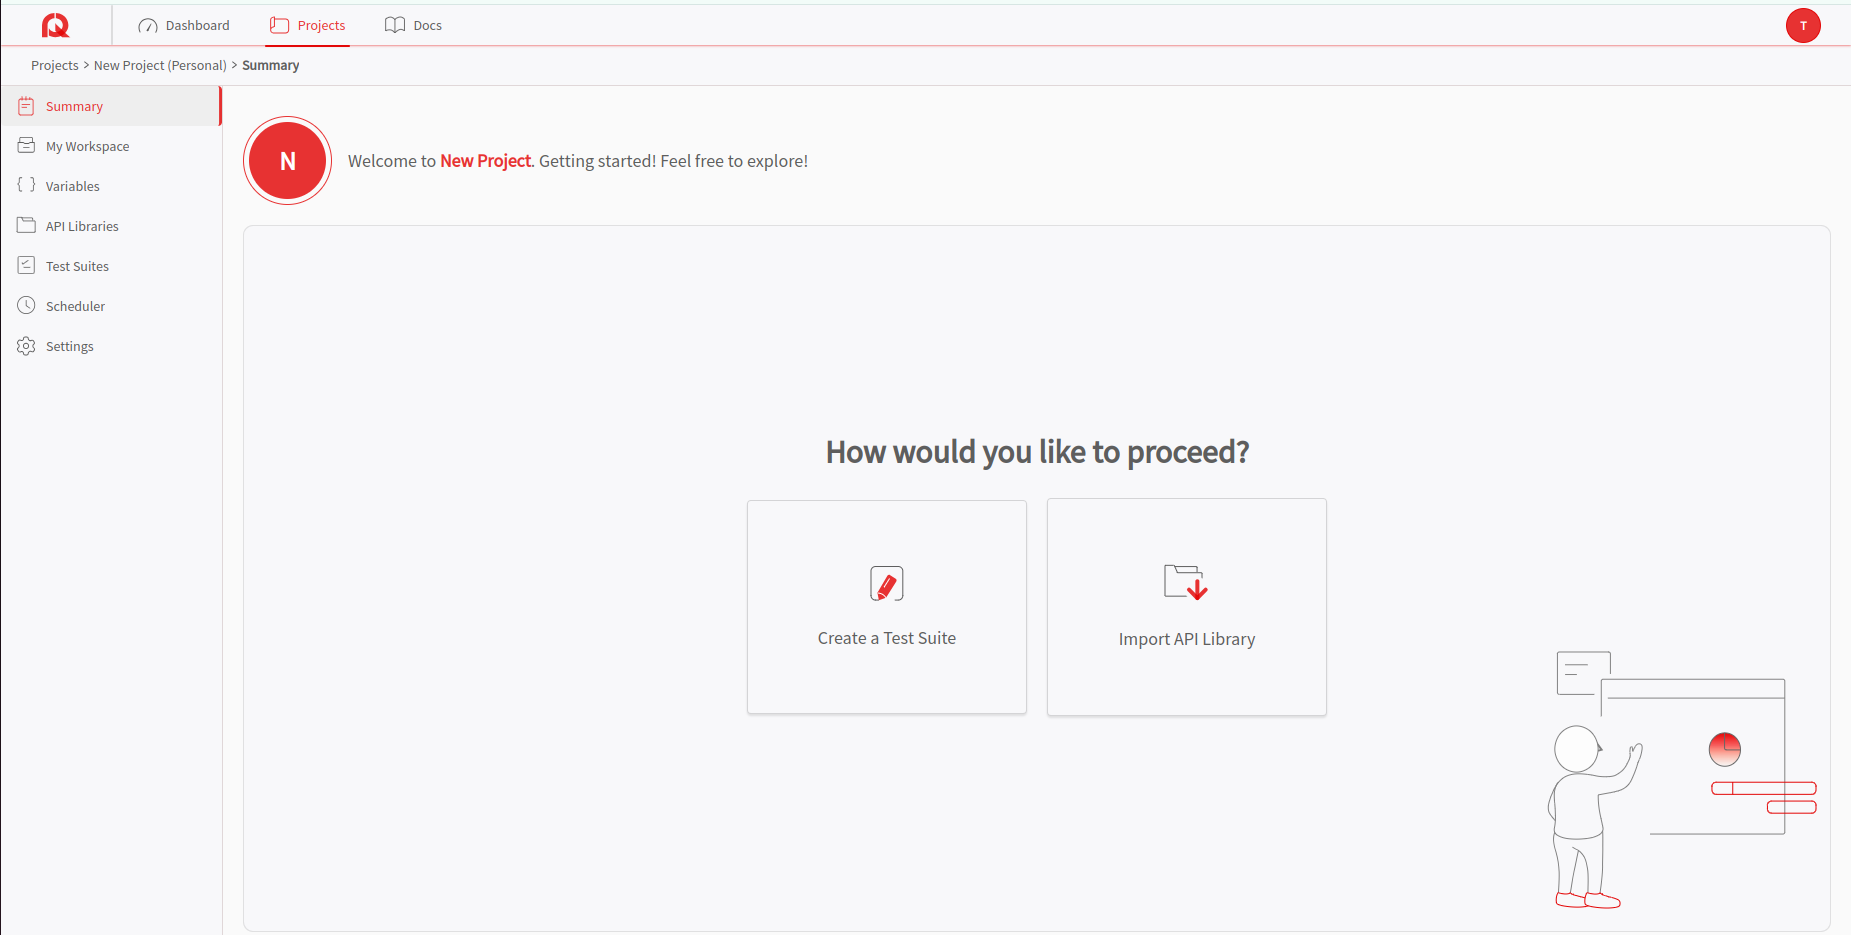
Access the New Project
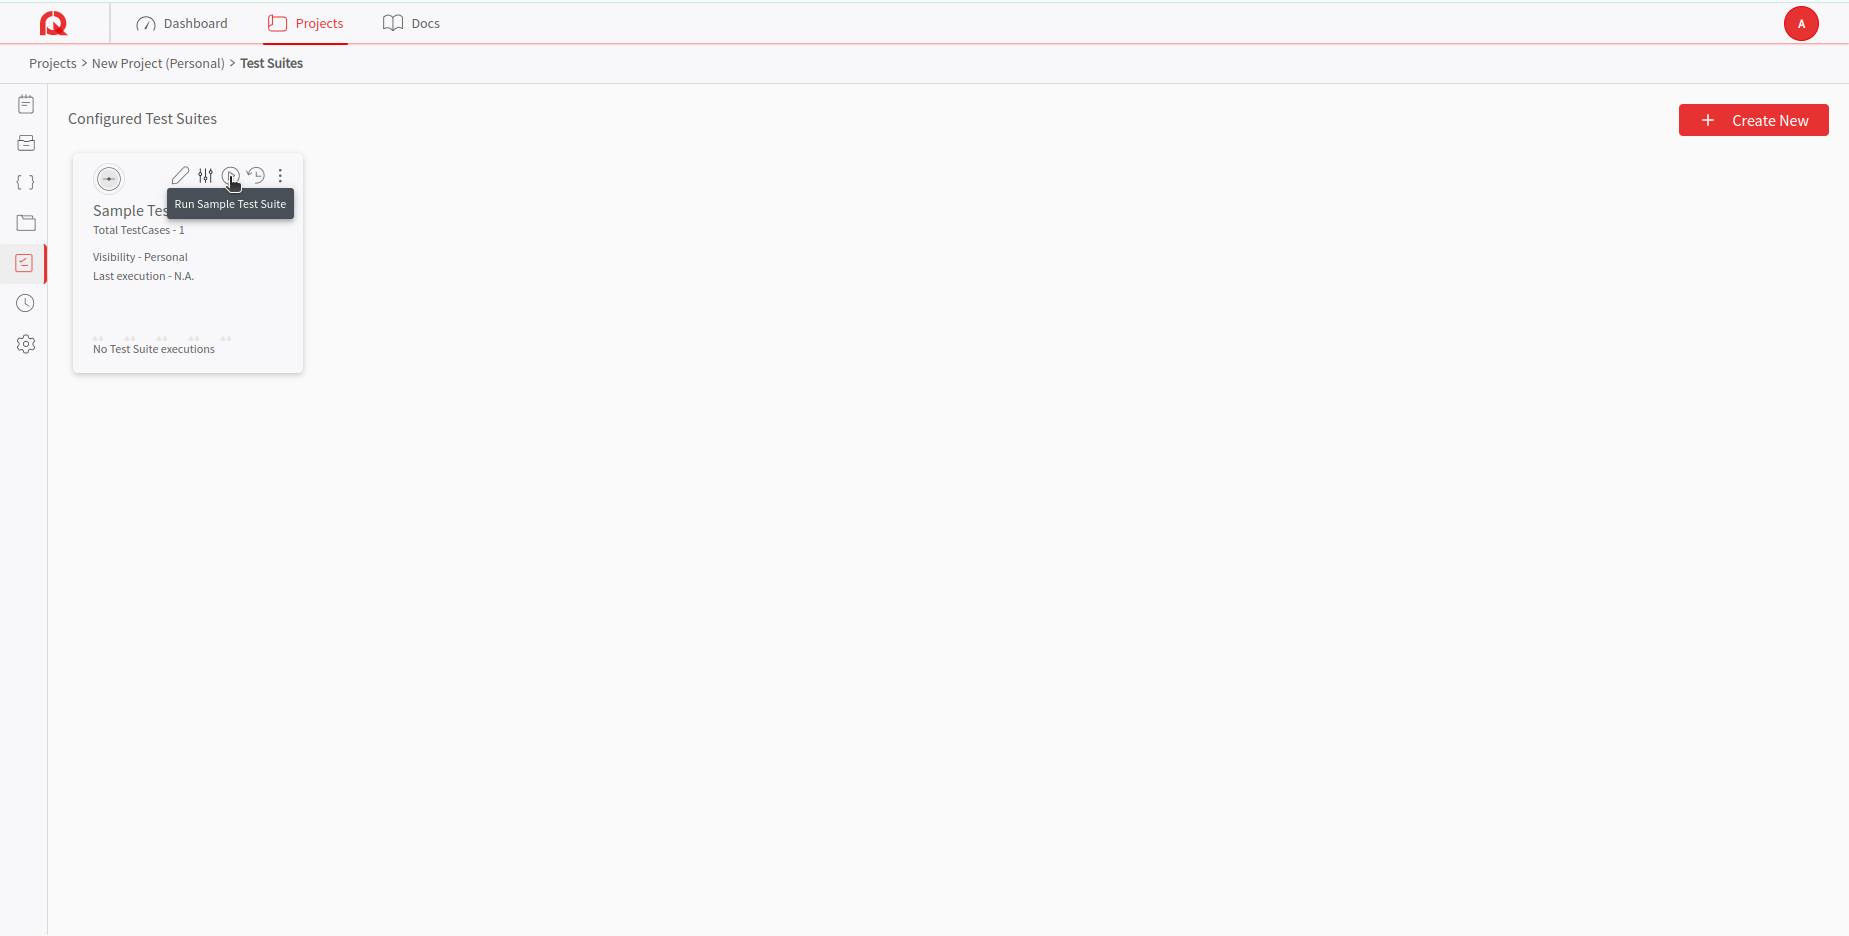
Access the project page by selecting the button which shows the created project name. Then click on the "Test Suites" icon from the sidebar navigation.
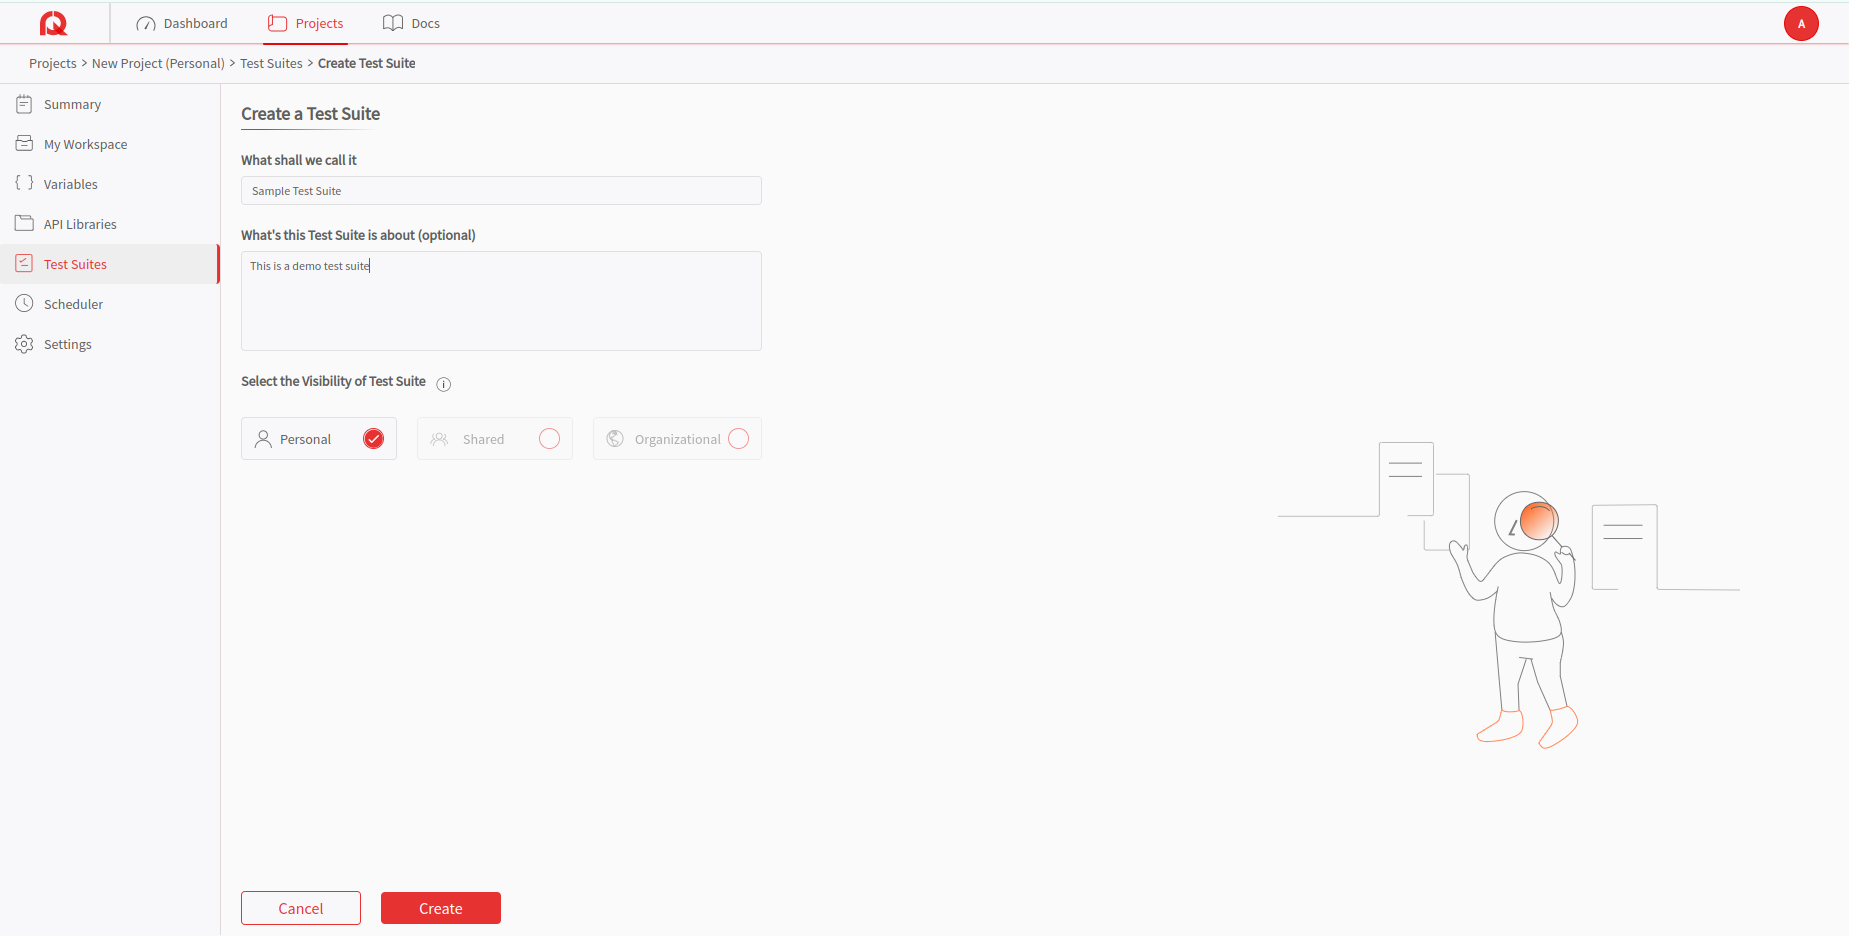
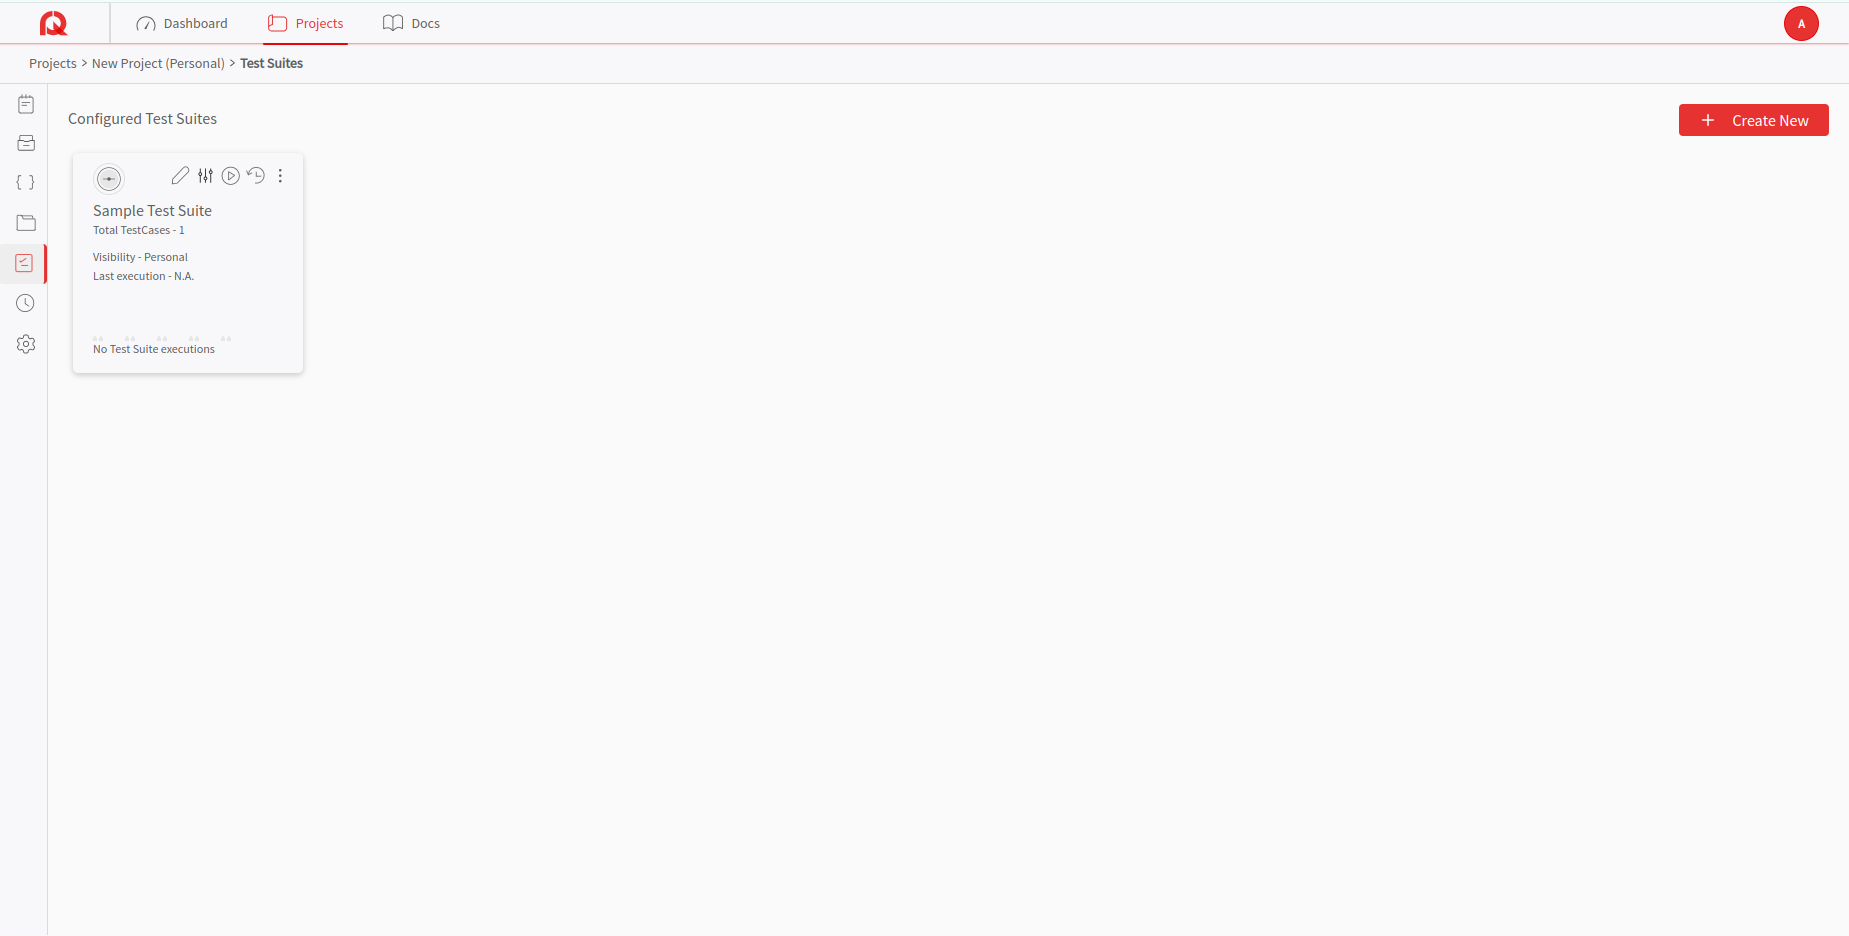
Create a New Test Suite
On the "Test Suites" page, click on the "Create a Test Suite" button and fill in all the required details. Then click on the "Create" button. A new Test Suite will be created. Enter a name and description for your test suite, then save it.
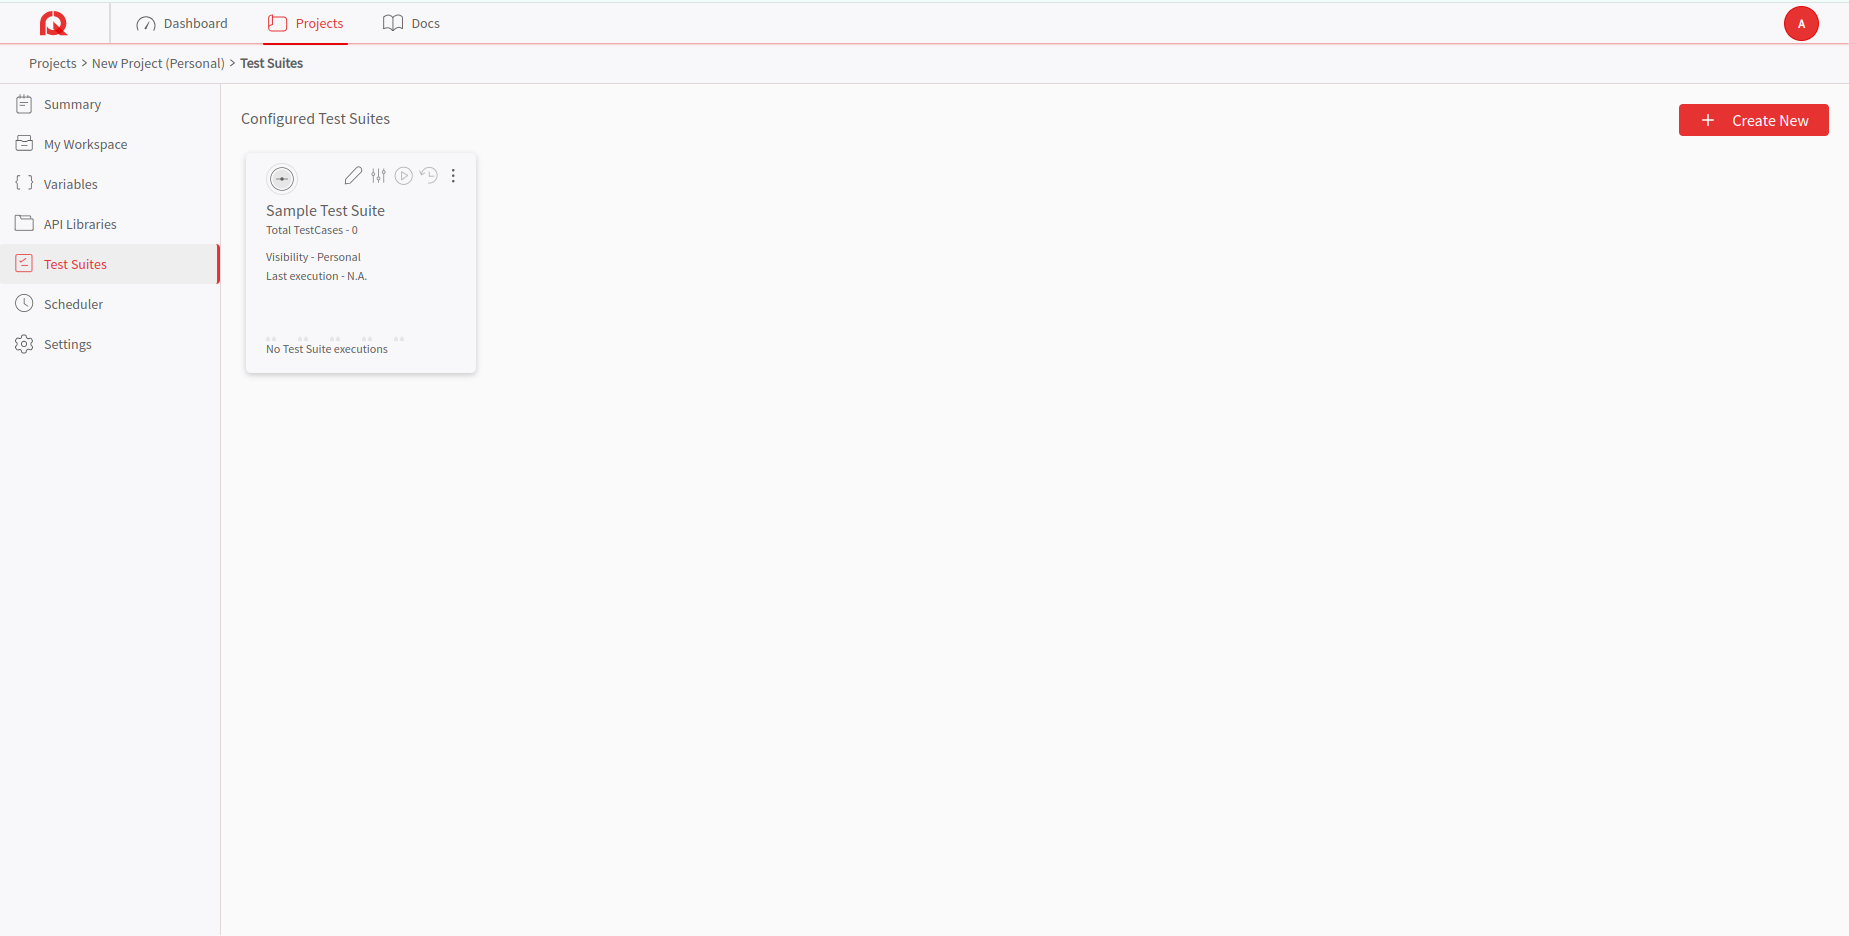
Enter the Test Suite
Enter the test suite by selecting the button which shows the Test Suite name. When you enter the test suite page, you can start managing the tests.
Access the Default Test Group
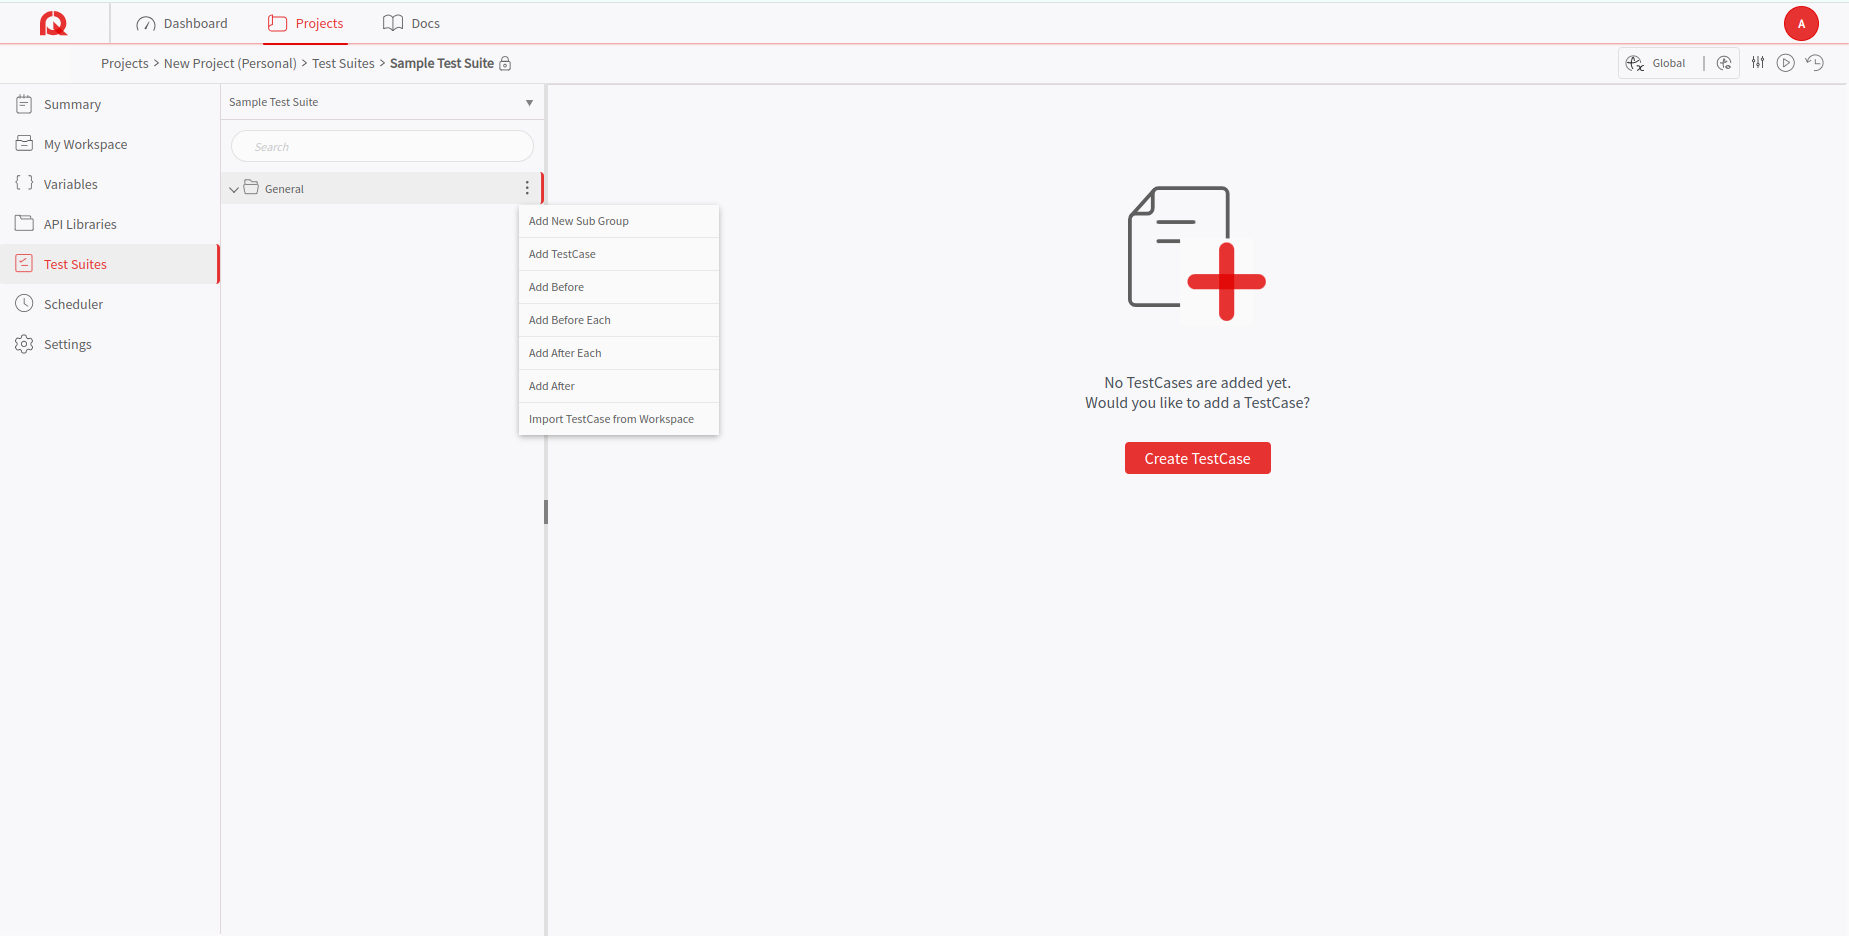
Each test suite will have a default test group which shows "General". Click on the kebab menu (three vertical dots) next to the test group name.

Explore Menu Options
The kebab menu shows a list of options as shown in the image below:
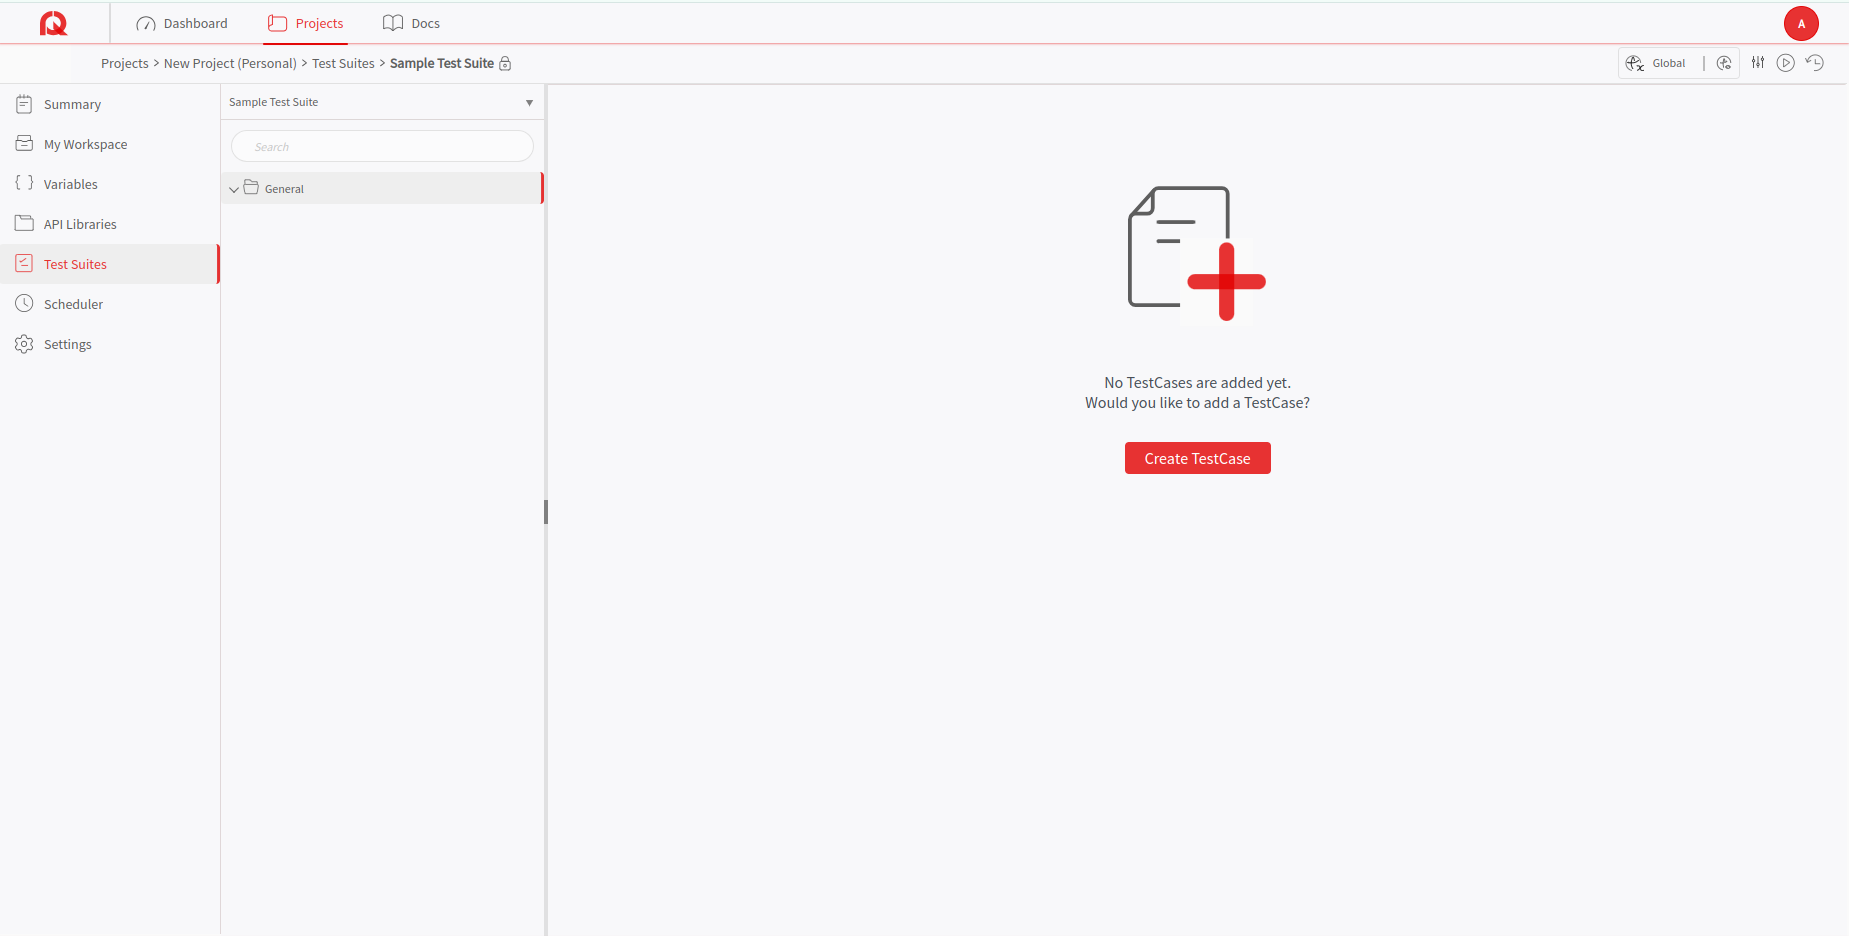
 Now let us focus on how to create a TestCase
Create a new Test Case
Select the "Add TestCase" icon from the kebab menu. Fill in the necessary details for the test case, such as its name and description. Then click on the "Continue" button.
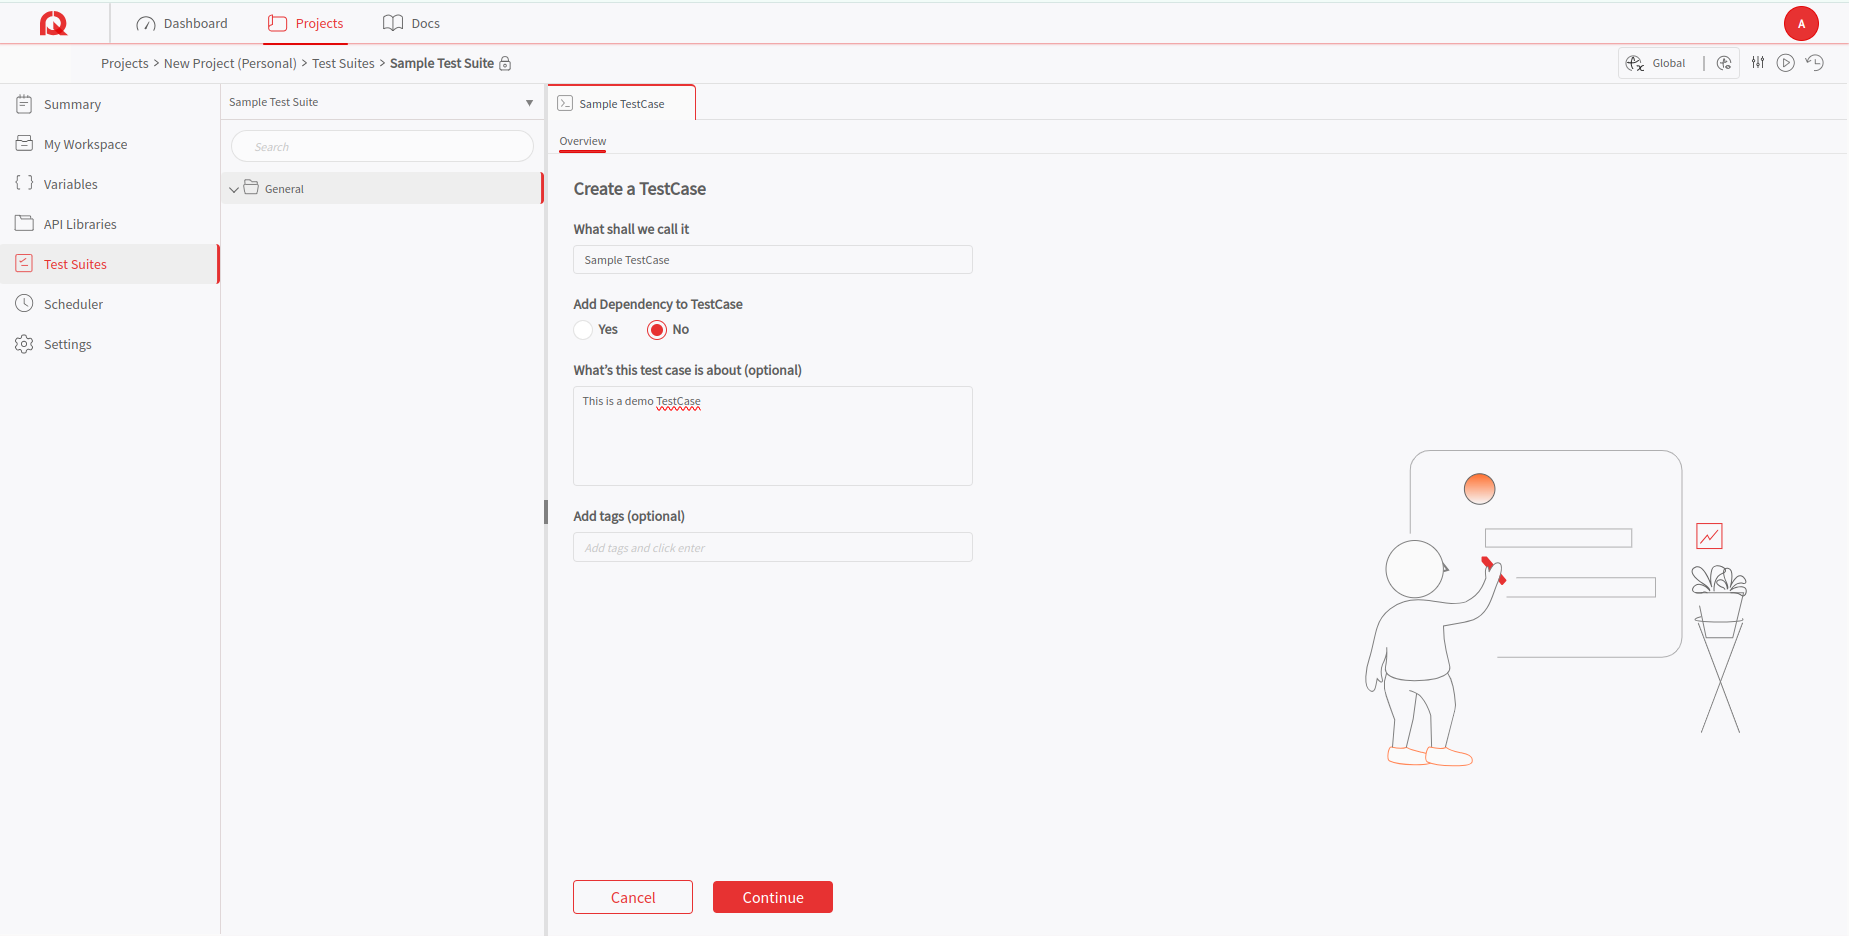
Note: The test can be continuously modified and updated in the draft stage. It will not be visible to any other user until it is being marked as ready for running in a full test suite. This allows you to verify and finalize draft tests before promoting them to the active test suite.
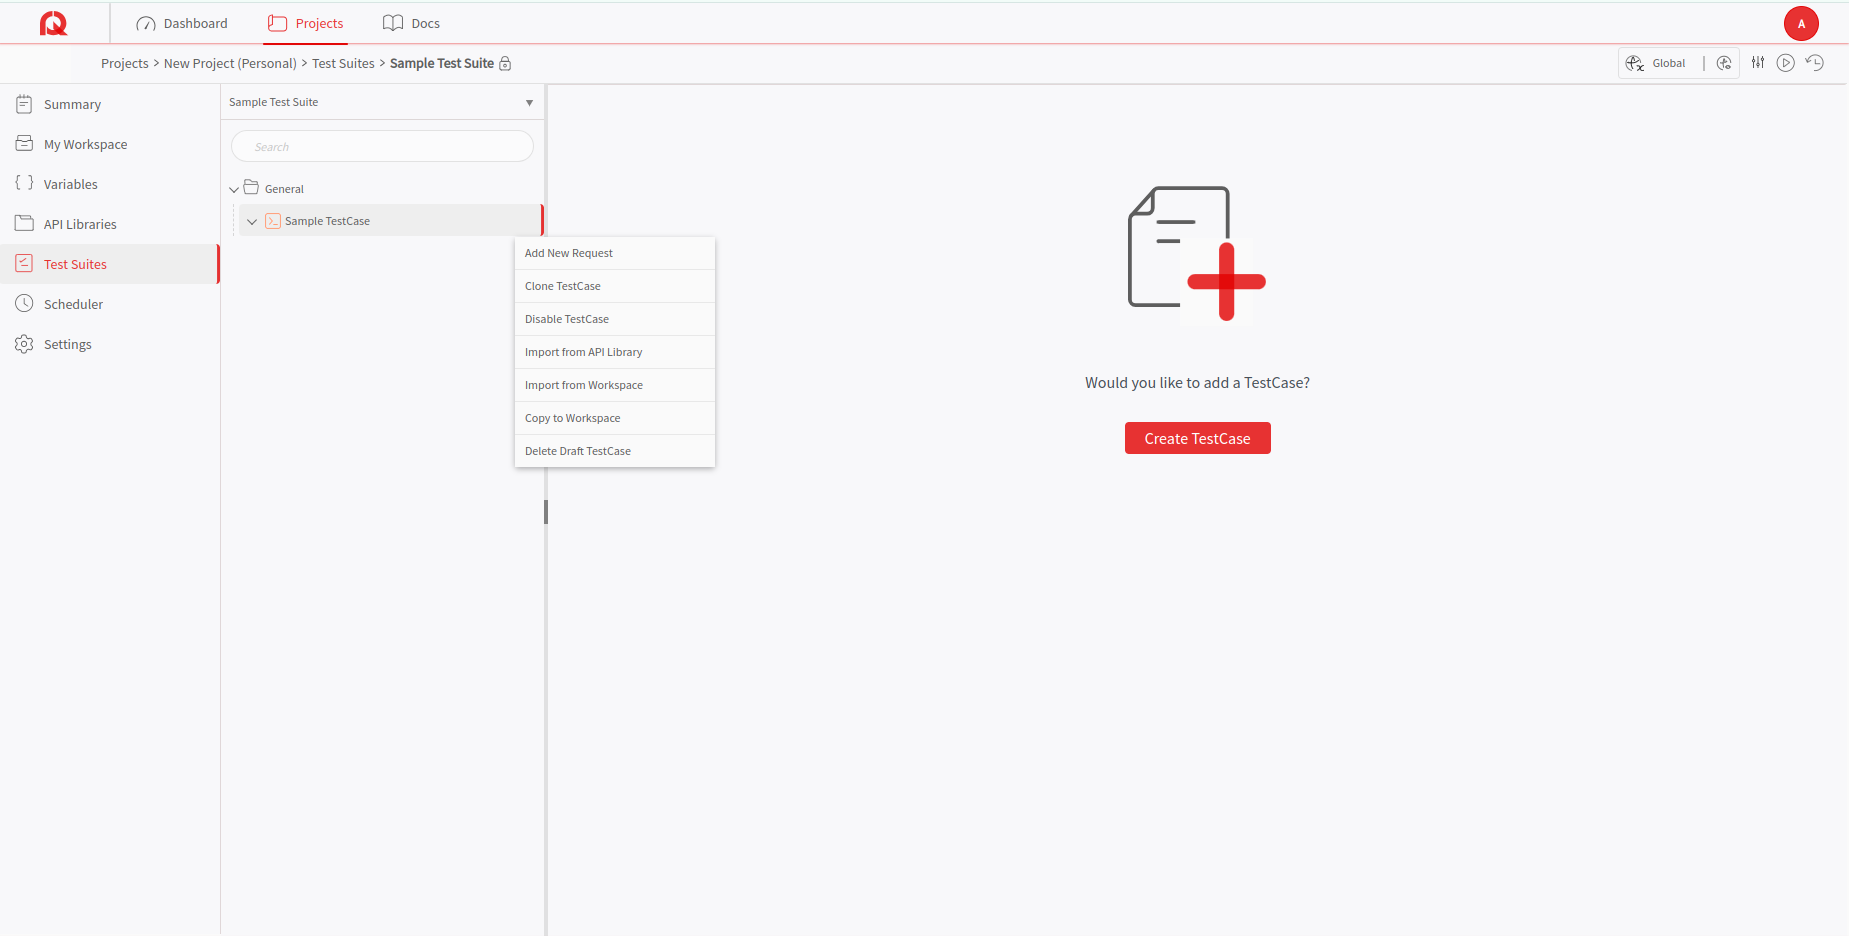
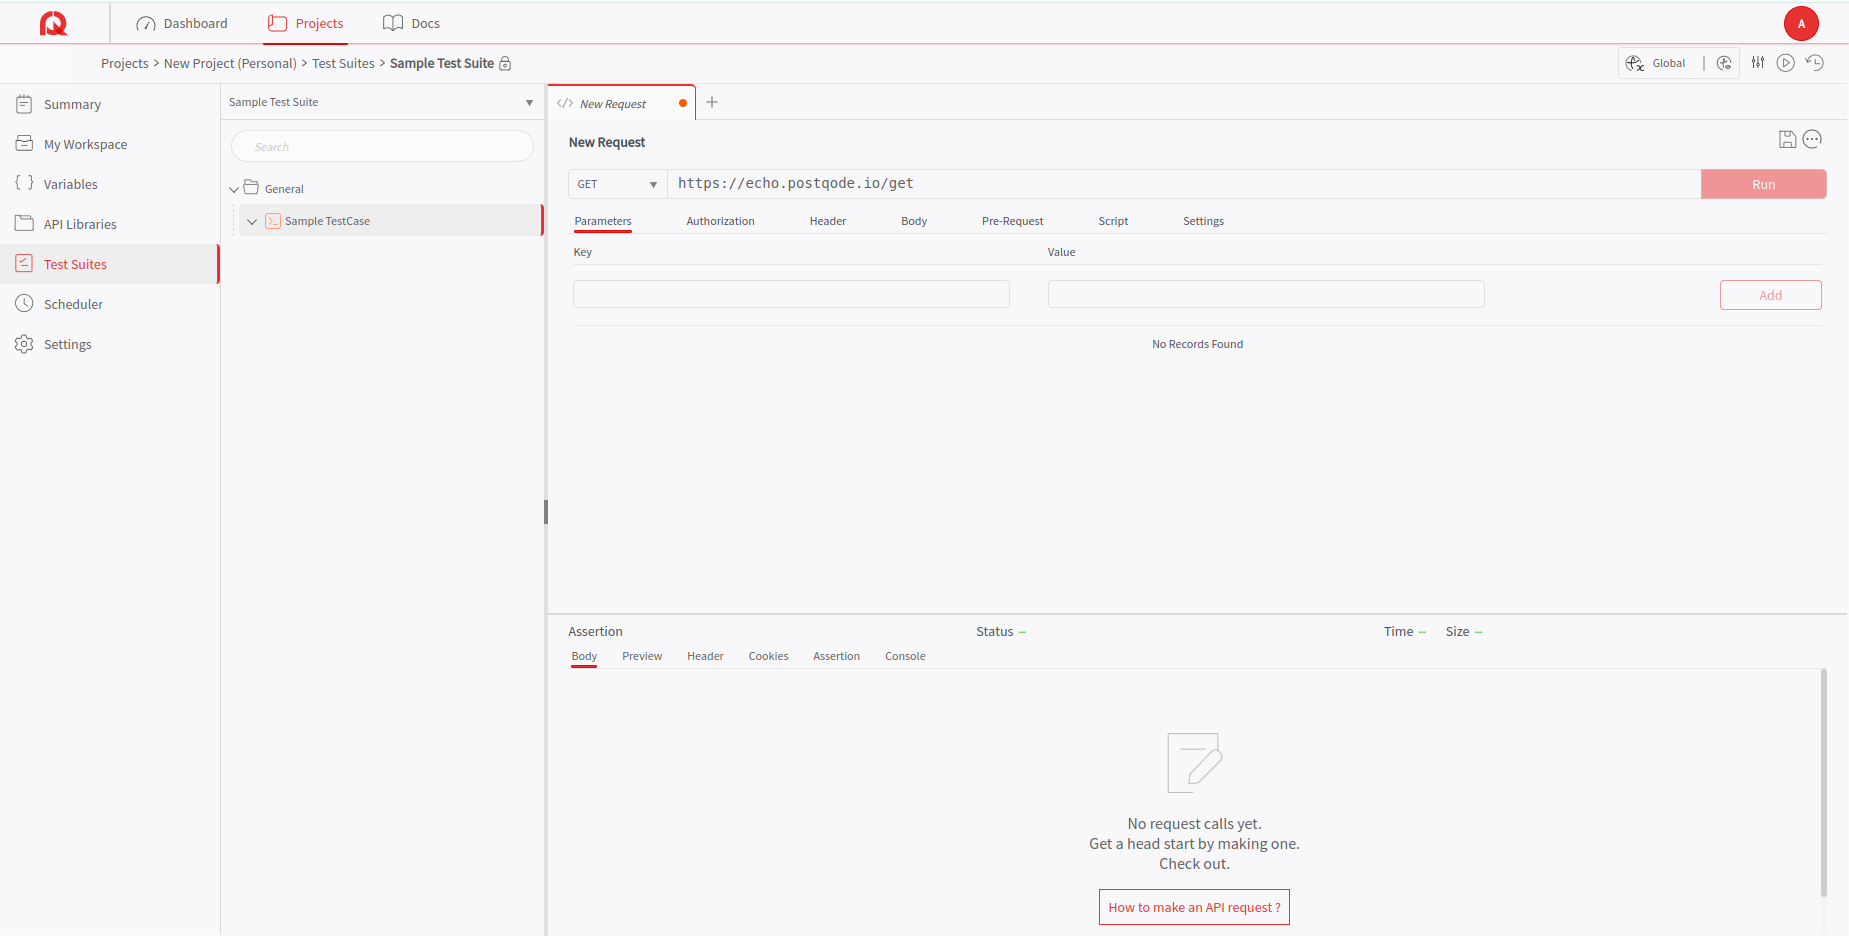
Add an API Request
Within the newly created test case, add an API request by specifying the endpoint, request method, headers, and body. This will serve as the target for your test scripts.
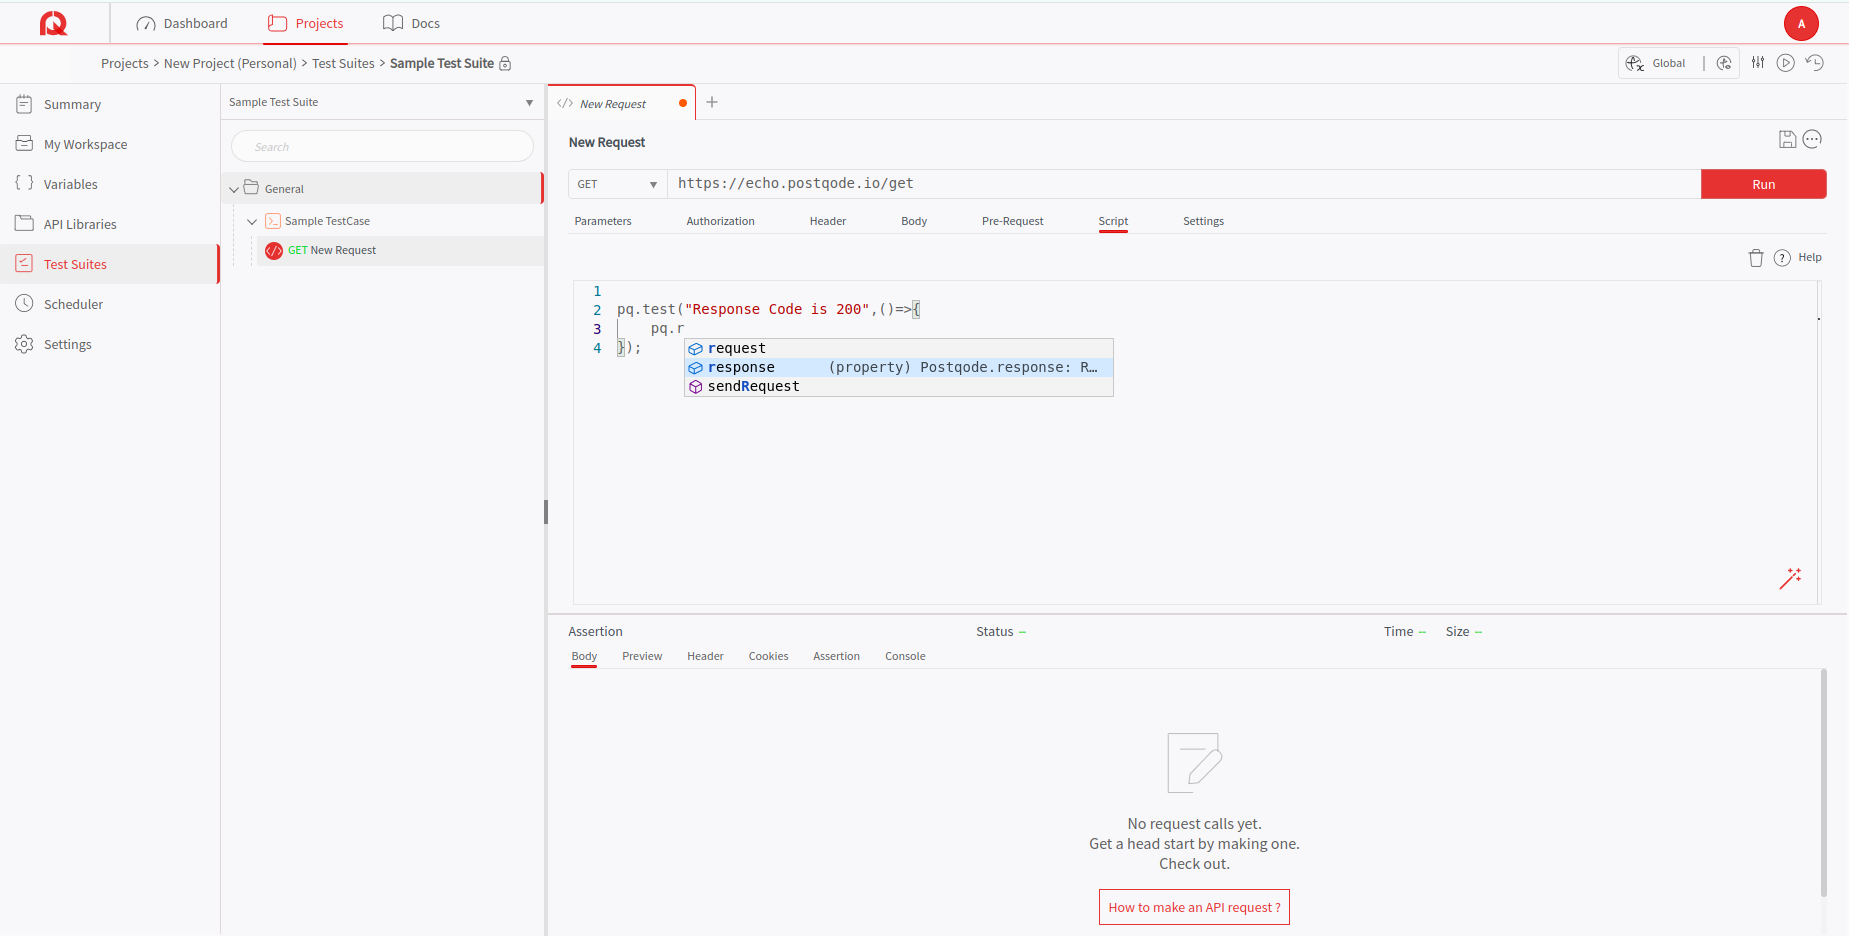
Add Tests
Under the "Script" tab in the New Request, fill in the necessary tests to validate the API request. These tests can include assertions to check the response status, body content, headers, and more.
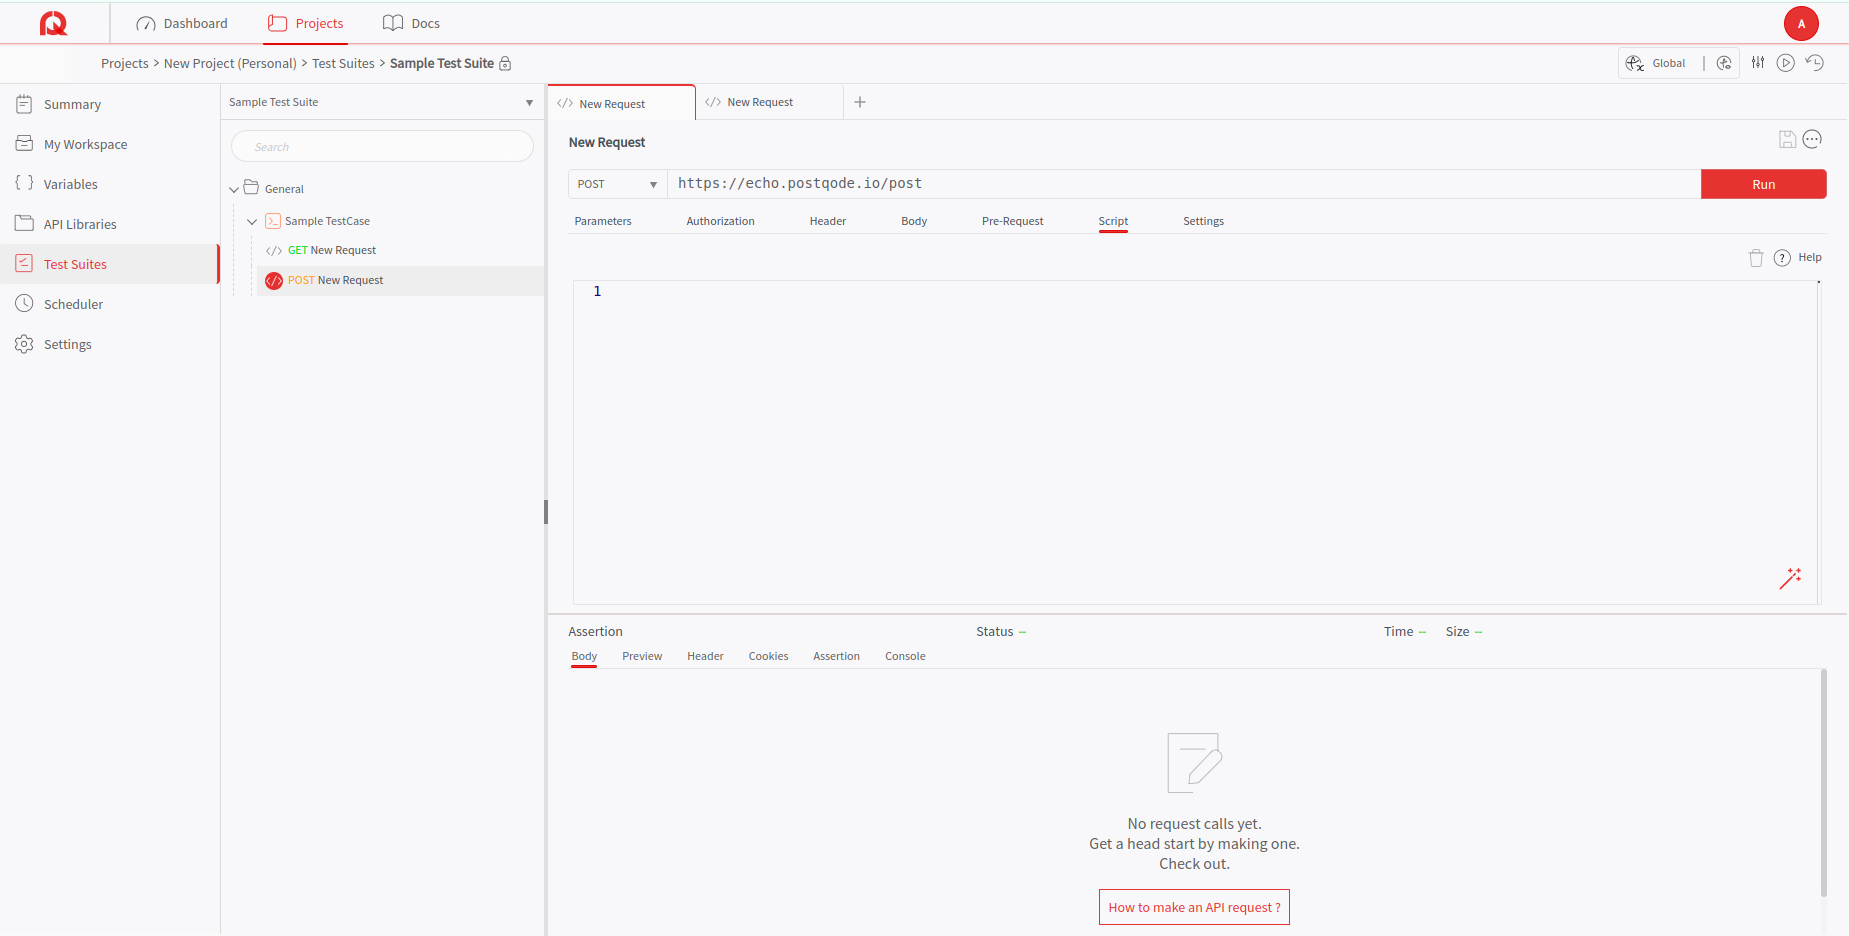
Add Multiple Requests
You can add multiple API requests to a single test case. This allows you to combine the requests together and perform any complex test scenarios. You can keep adding requests and writing scripts for each one of them.

Run the Test Case
When you have added all the necessary requests and scripts, click on the "Run" button to run the TestCase. Review the test results to ensure the requests are performing as expected and if necessary, change anything that needs to be modified.

Expand Your Test Suite
Similarly, you can add multiple test cases, subgroups, and test hooks in the test suite to build a full-fledged, complex end to end test scenario. This allows to perform a comprehensive testing for your project.
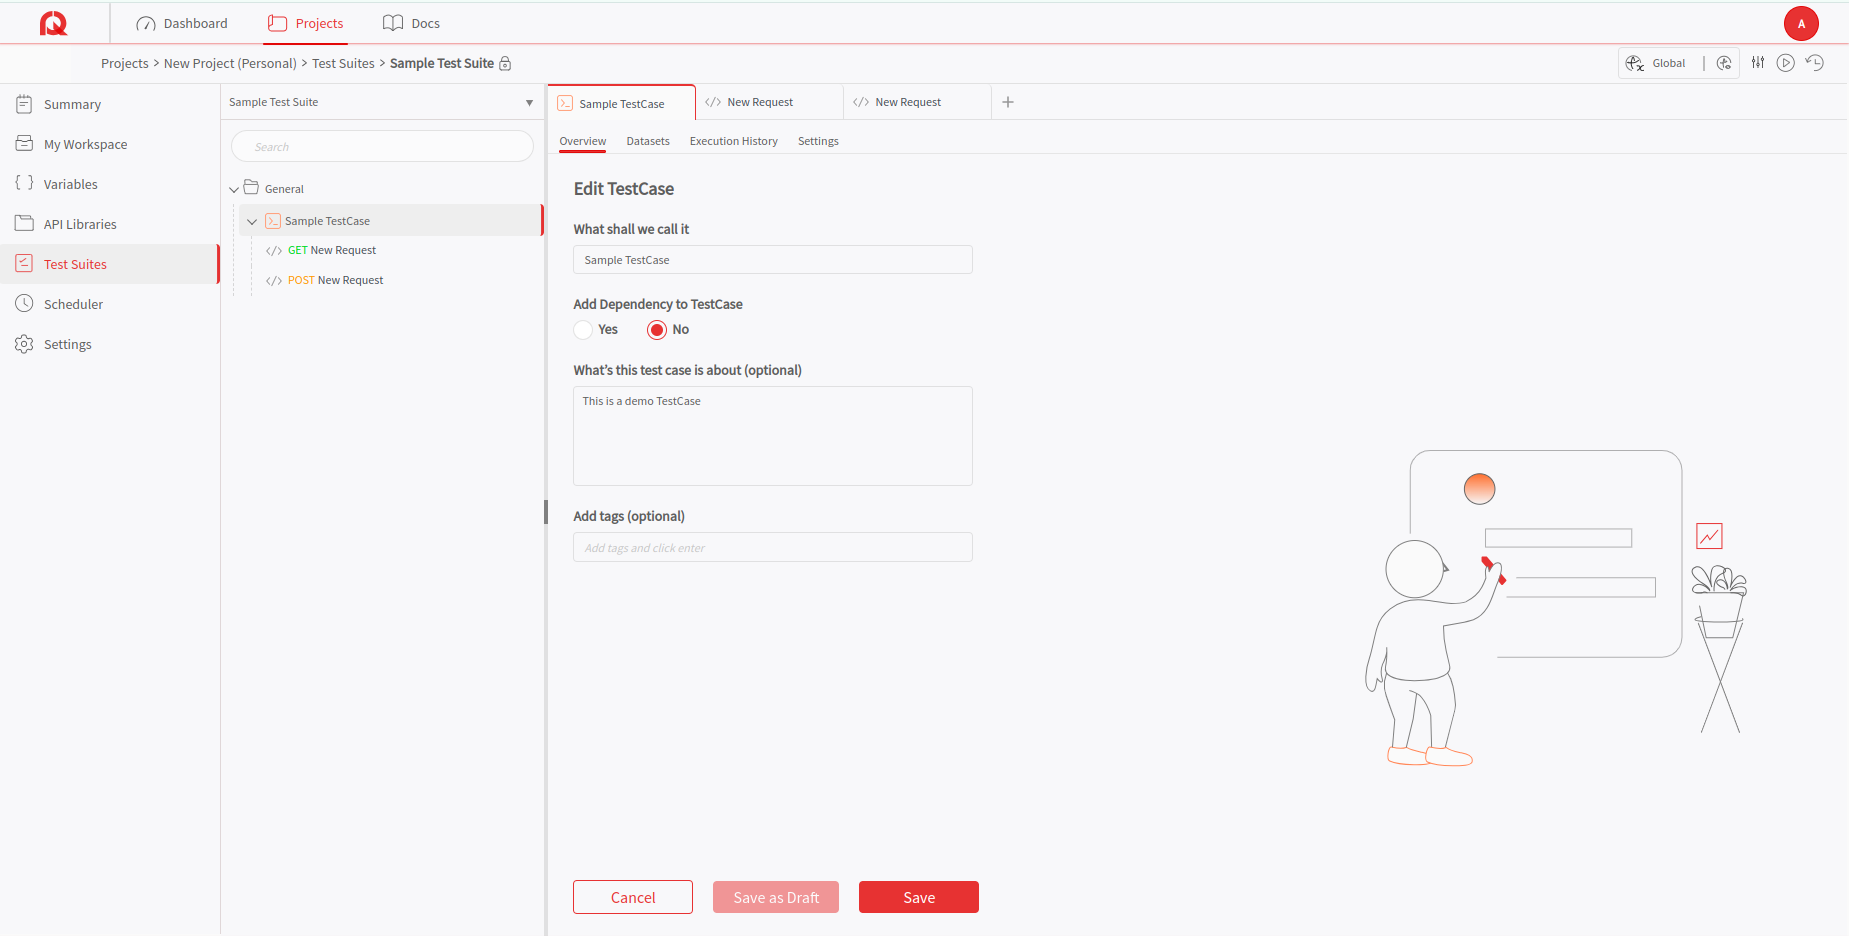
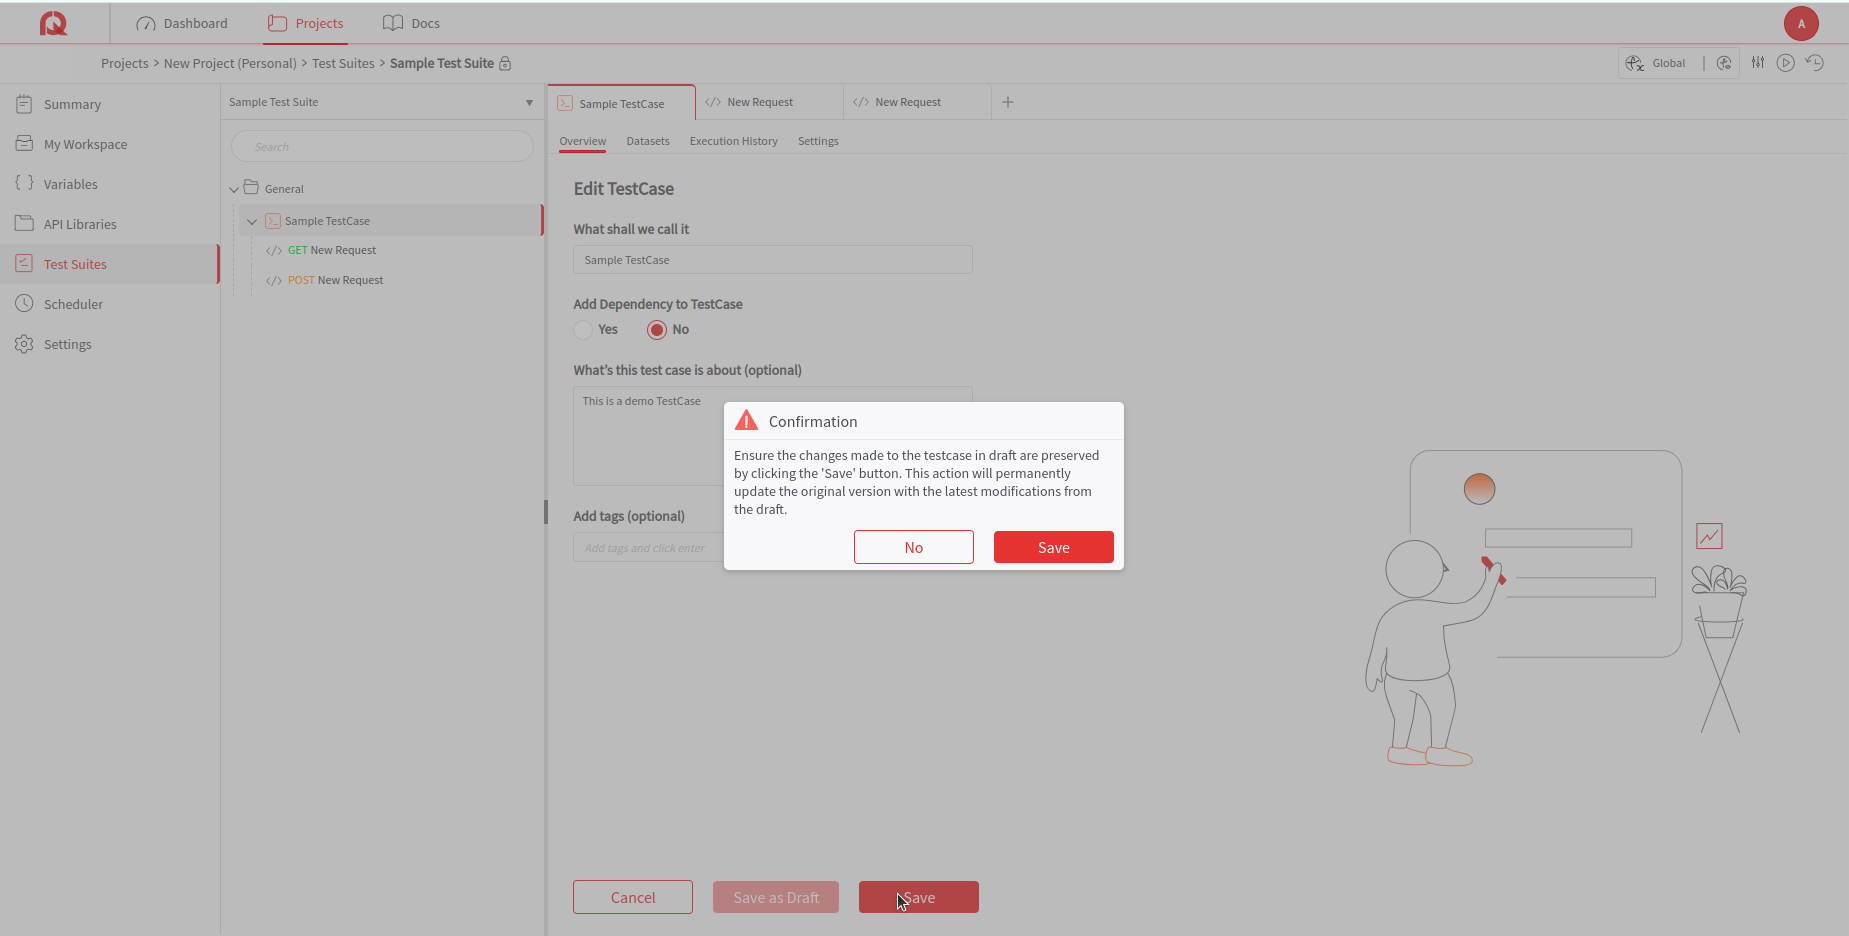
Save Draft Test Cases
Ensure the changes made to the Testcase in draft are preserved by clicking the "Save" button. When you save the draft testCases, it will be visible to other users so that they can include them in the test execution.
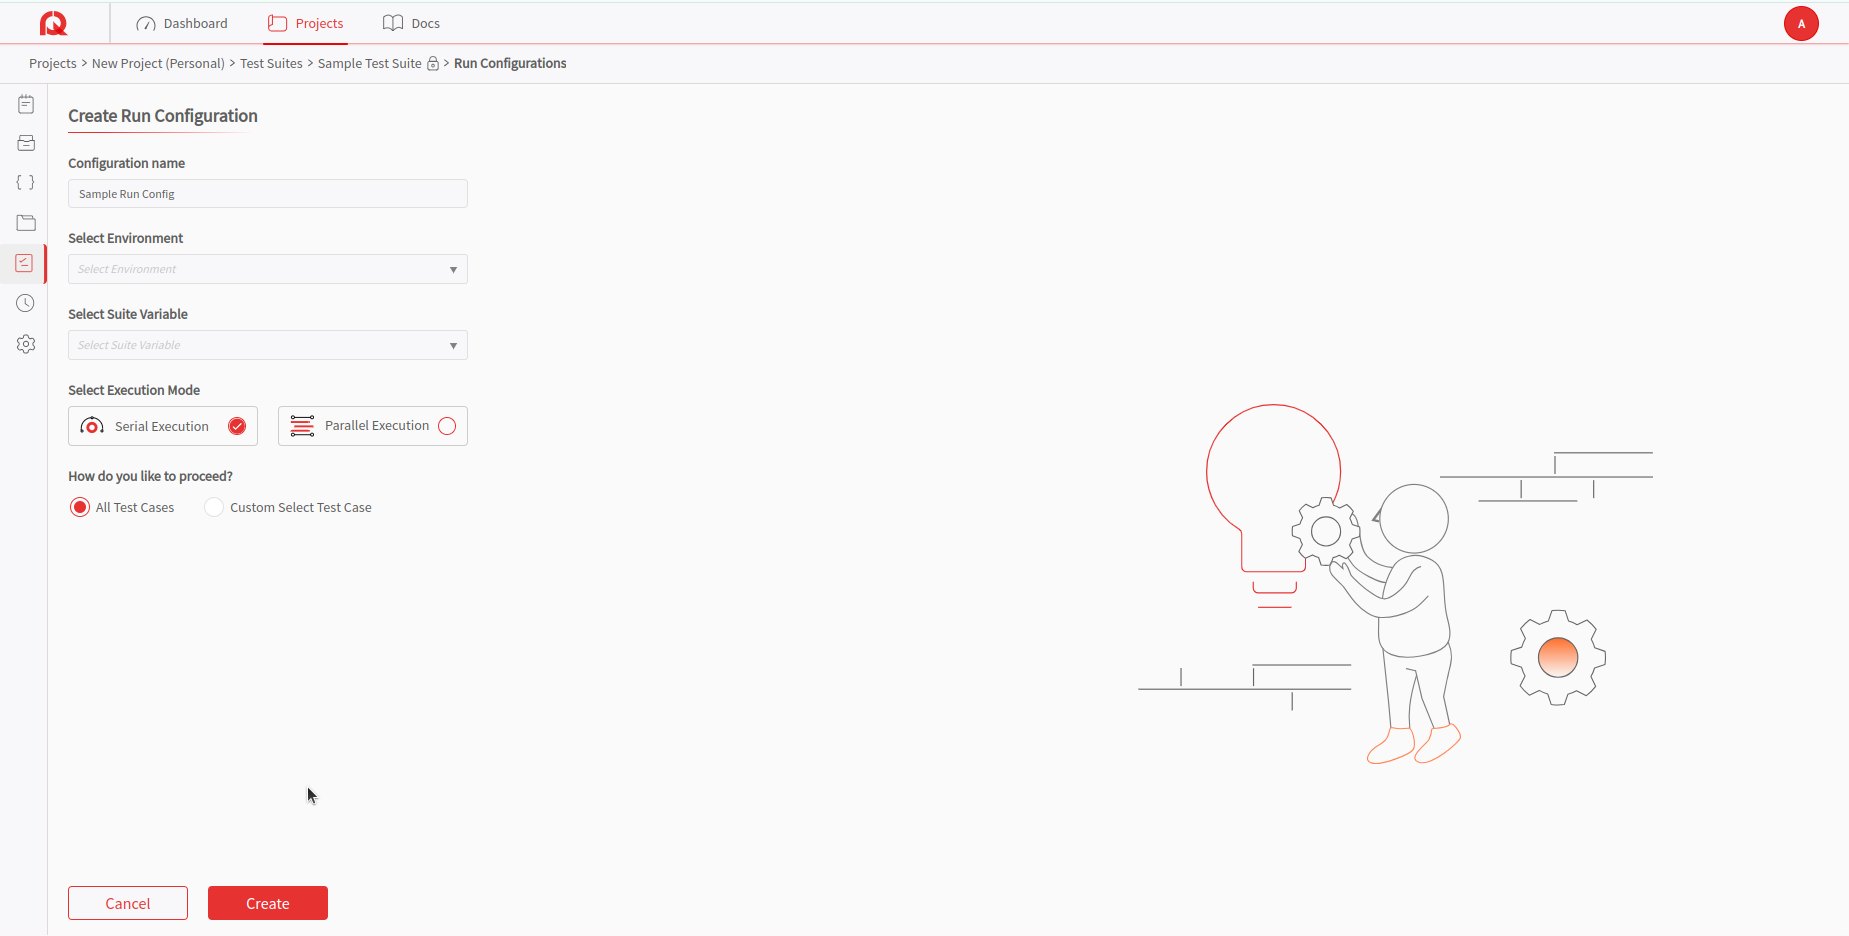
Add Run Configurations
Return to the "Test Suite" page and add the required run configurations for the test suite that you have created. This includes specifying the environment, parameters, and any other settings needed for the tests.
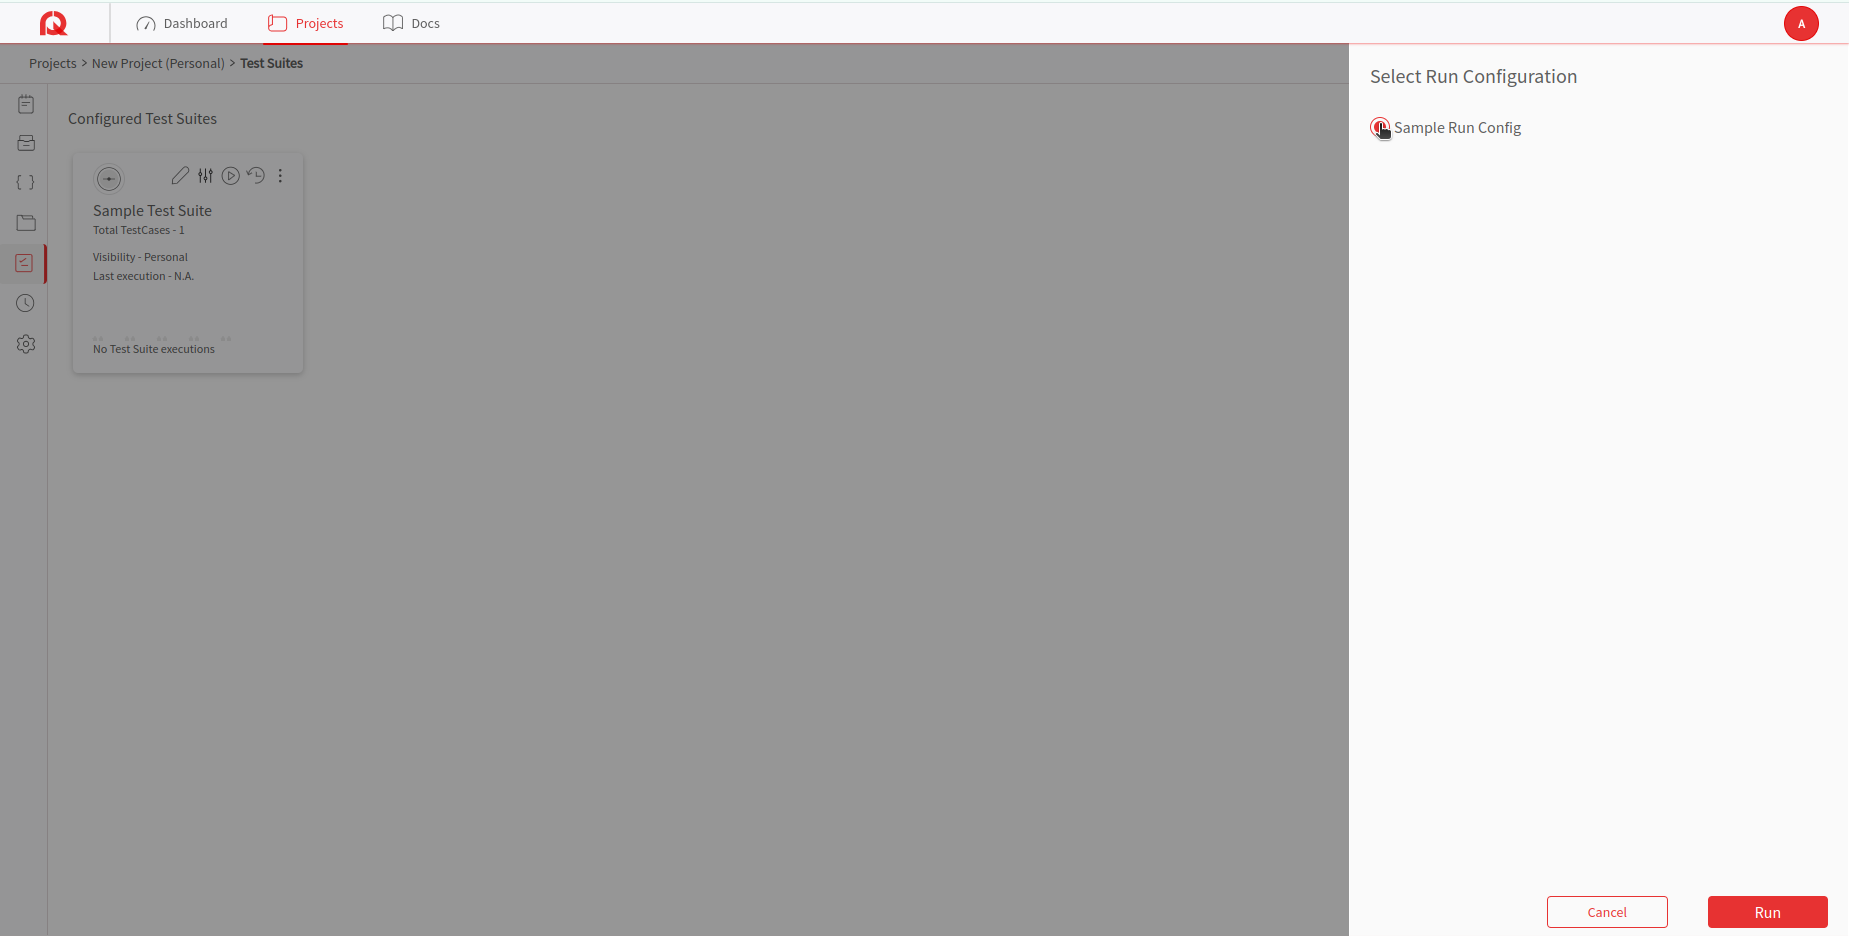
Run the Test Suite
With the correct run configurations, you can now run the entire test suite by clicking the "Run" button. This will execute all the test cases according to the specified configurations, which provides a comprehensive test for your project.
Automate Test Execution
PostQode offers a Scheduler option that allows you to execute the Test suites automatically. You can schedule the test suite to run at a specific time or set up recurring executions. This feature will help you to perform the tests regularly without requiring manual intervention.
This comprehensive quickstart guide will help the users to effectively navigate through the initial setup and use of PostQode.