QodeALLY Automator Quickstart
QodeALLY Automator is an AI-powered test case generator that creates test cases for specified API requests. This guide will help you to use the QodeALLY Automator effectively within the PostQode.
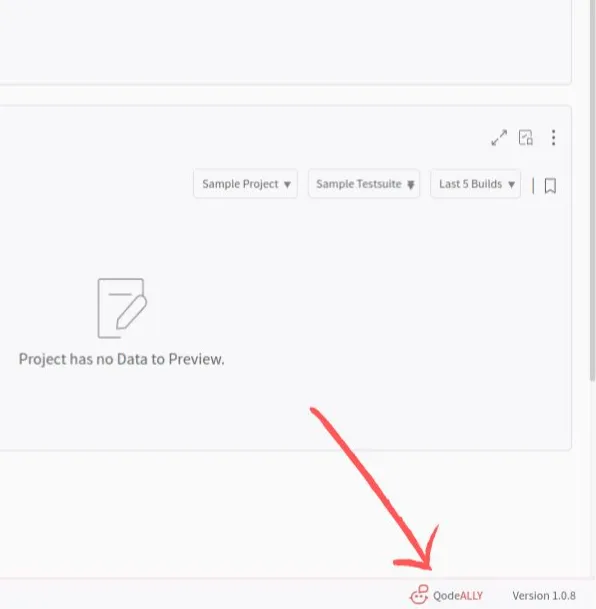
Open QodeALLY
On the PostQode screen, click on the "QodeALLY" icon at the bottom of the page.
Navigate the QodeALLY Tab
On the QodeALLY tab, you will see the below two options in the header:
-
Chat: This feature functions as a RAG (Retrieval-Augmented Generation) tool to gain insights from ingested documents. It allows you to ask questions and receive information based on the documents connected to your account.
-
Automate: This feature is used to automate the creation of test cases. In this guide, we will focus on using the Automate option.
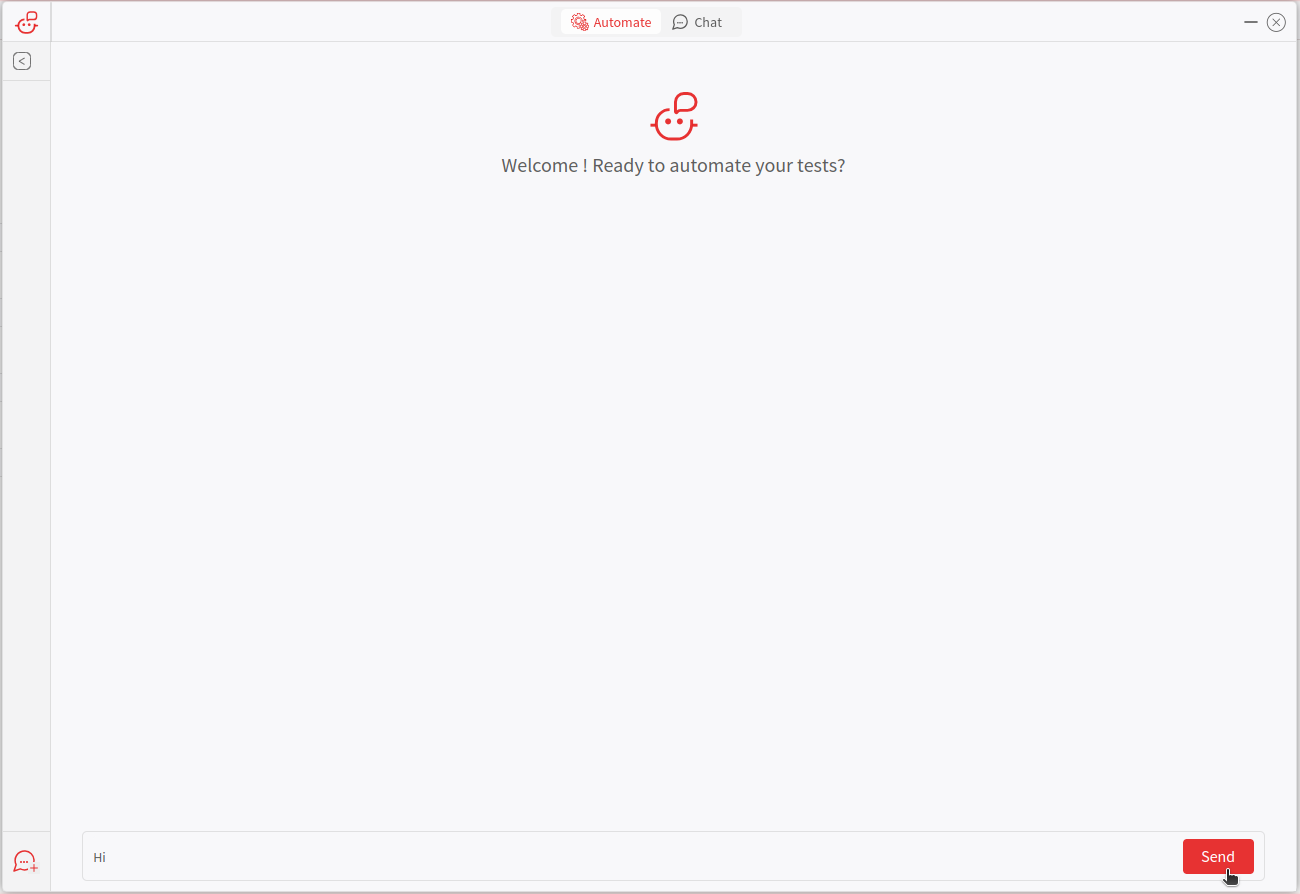
Select Automate
Click on the "Automate" icon to begin the process of automating test case creation. This will initiate a conversation with QodeALLY, to set a stage for automating your tests.
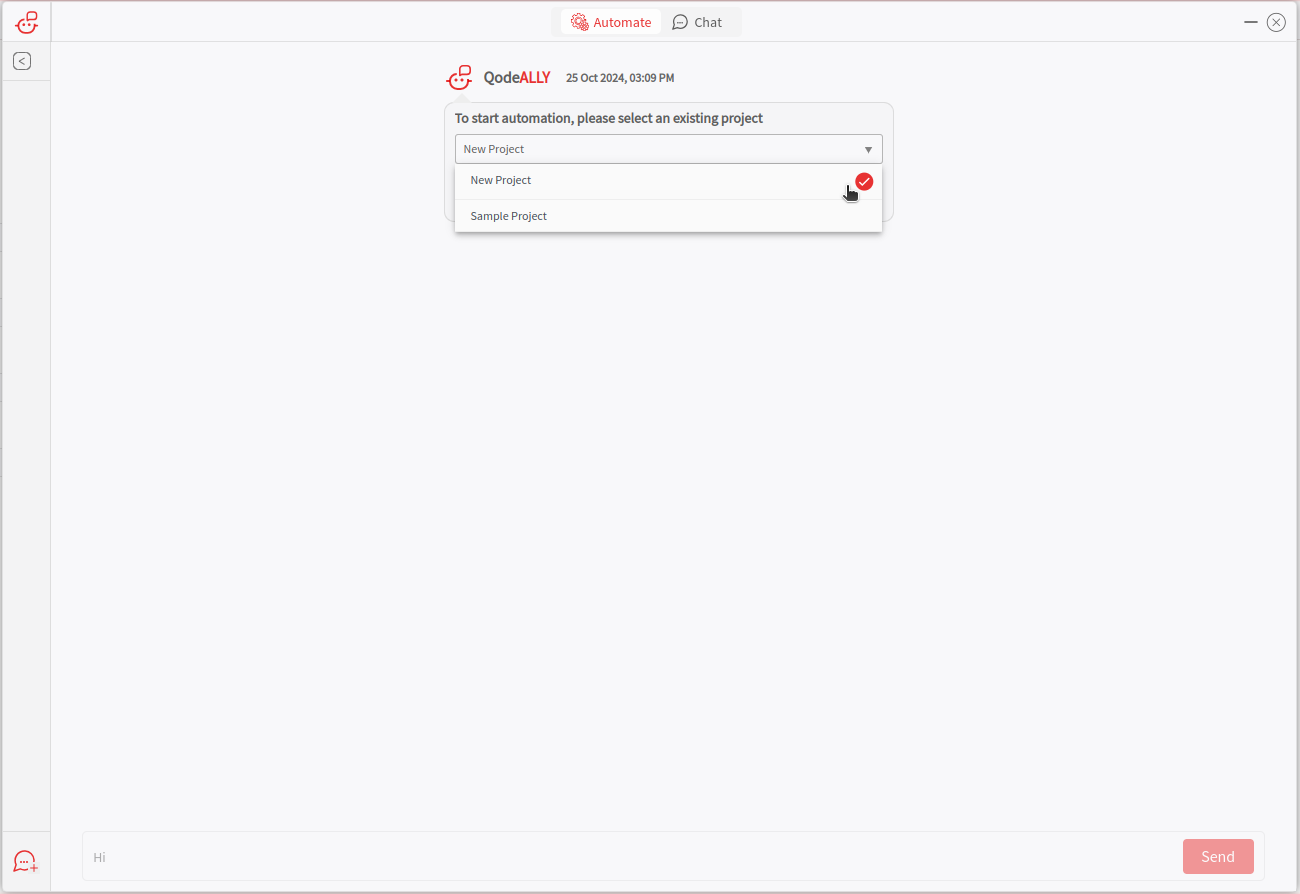
Project Selection
To start automation, please select an existing project from the drop down menu. Note: If you start the automation within a project, QodeALLY will automatically start the process.
Capabilities Overview
When you contact QodeALLY, it will communicate with you in a chat thread. This overview will help you to understand what QodeALLY can do and how it can assist in your test case creation process. QodeALLY is designed to create test cases for selected API requests, to streamline the process and ensuring comprehensive test coverage.
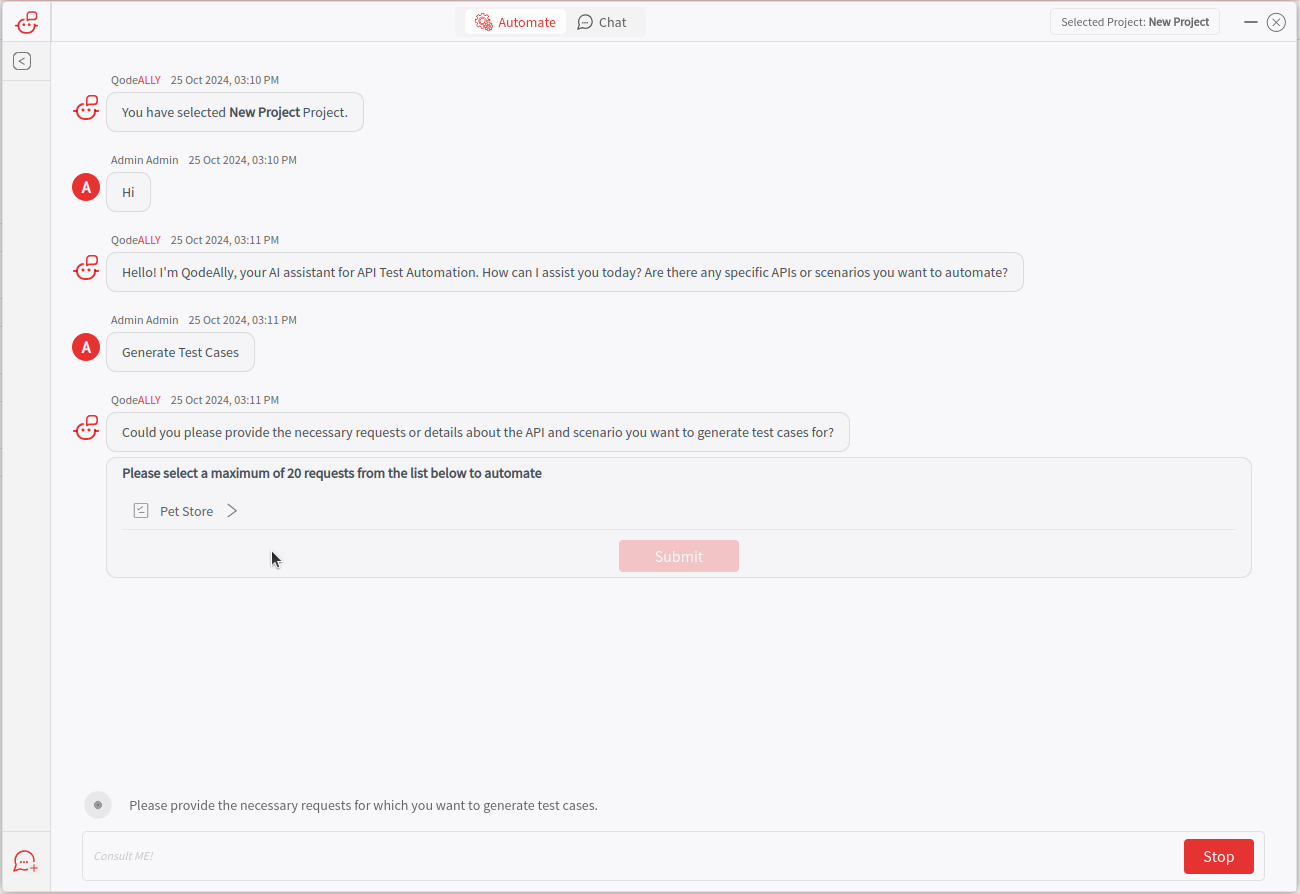
Request Assistance
Request Assistance from QodeAlly
- Begin by asking QodeAlly to assist you in creating a test case.
- This action will prompt QodeAlly to guide you through the process of selecting and automating your API requests.
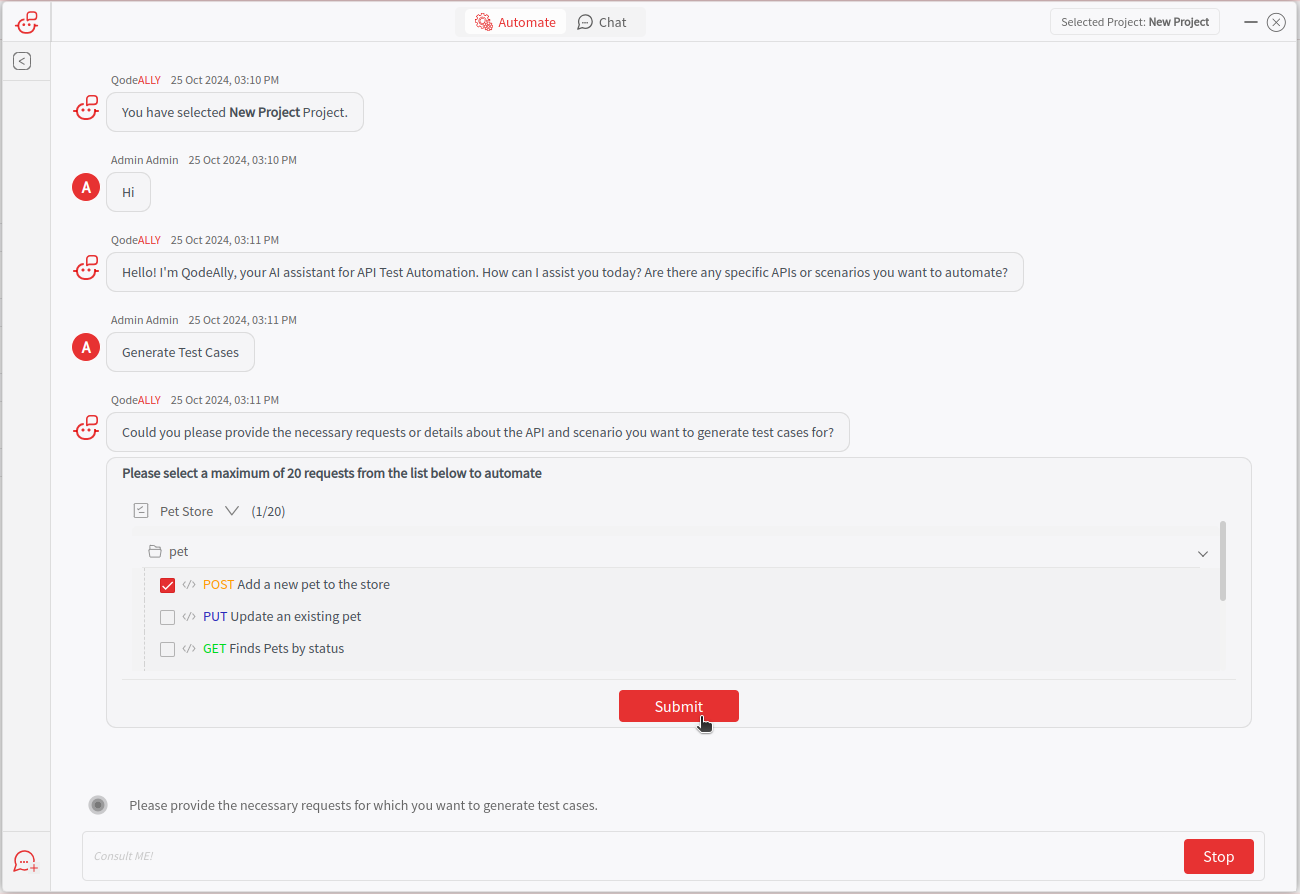
View the API Request Selection Section
- QodeAlly will display a section where you can choose the required API requests from the library.
- This section is designed to help you start the automation process.
Select Necessary APIs
- Browse through the library of API requests provided by QodeAlly.
- Select the APIs required for your test case.
Finalize Selection for Automation
- The APIs you select will serve as the foundation for the test cases that QodeAlly will generate.
- Confirm your selections to proceed with the automation process.
Note: Ensure that you have API requests in the library. If not, please add the API requests in the library before starting the automation. Refer to the API Library documentation for more information.
Generate Test Plan
When you provide the API requests, QodeALLY will display a test plan for the selected requests. This plan will detail the steps and checks needed to be performed for each API requests. Review the plan details thoroughly and click on the "Approve" button to proceed.
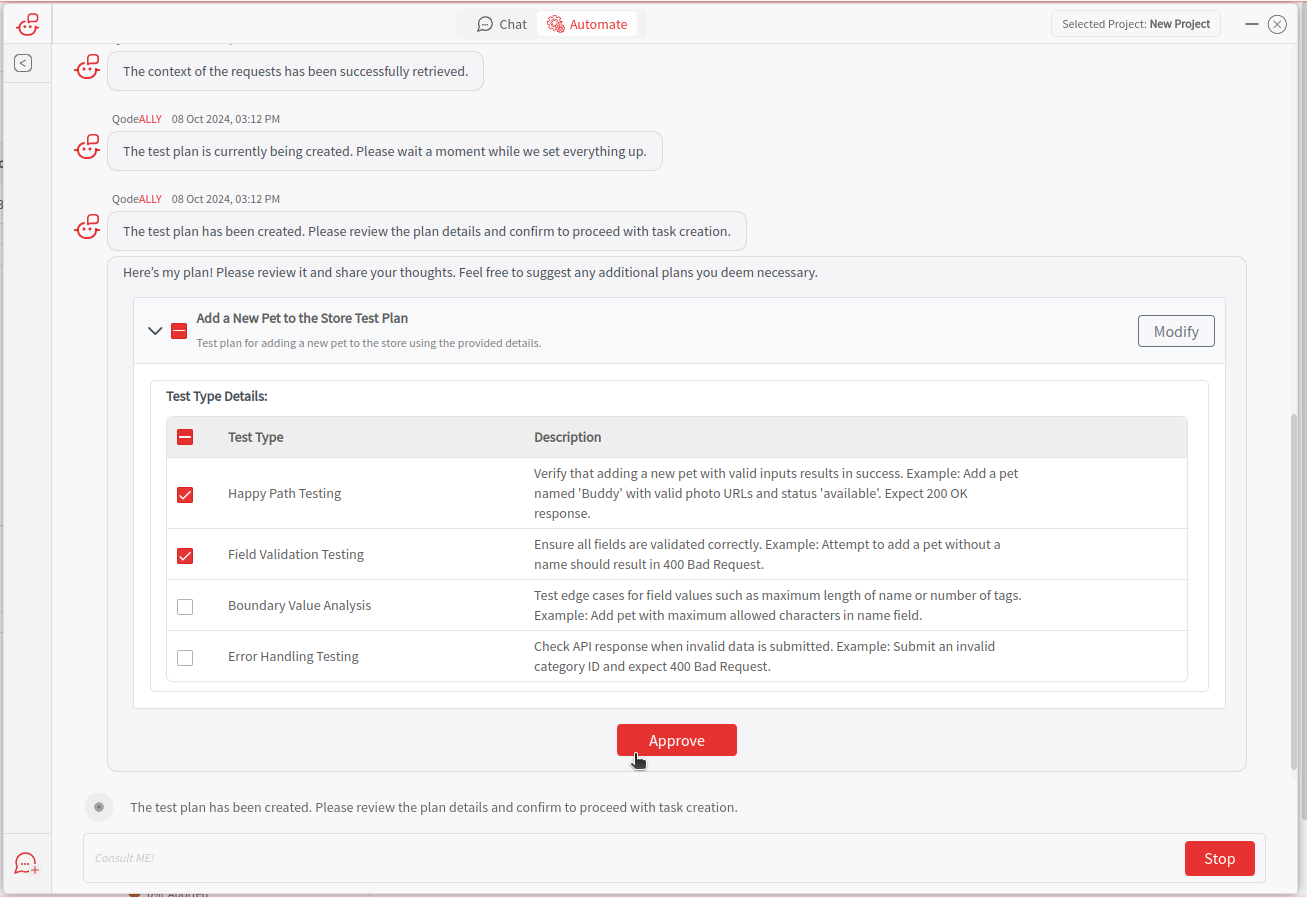
Modify Test Plans
If required, you can select a particular test plans and suggest modifications if needed. QodeALLY will adapt you plan based on your feedback.
Select Test Suite and Group
Once the test plan is created, you need to select the Test Suite and Test group.The test cases will be created.
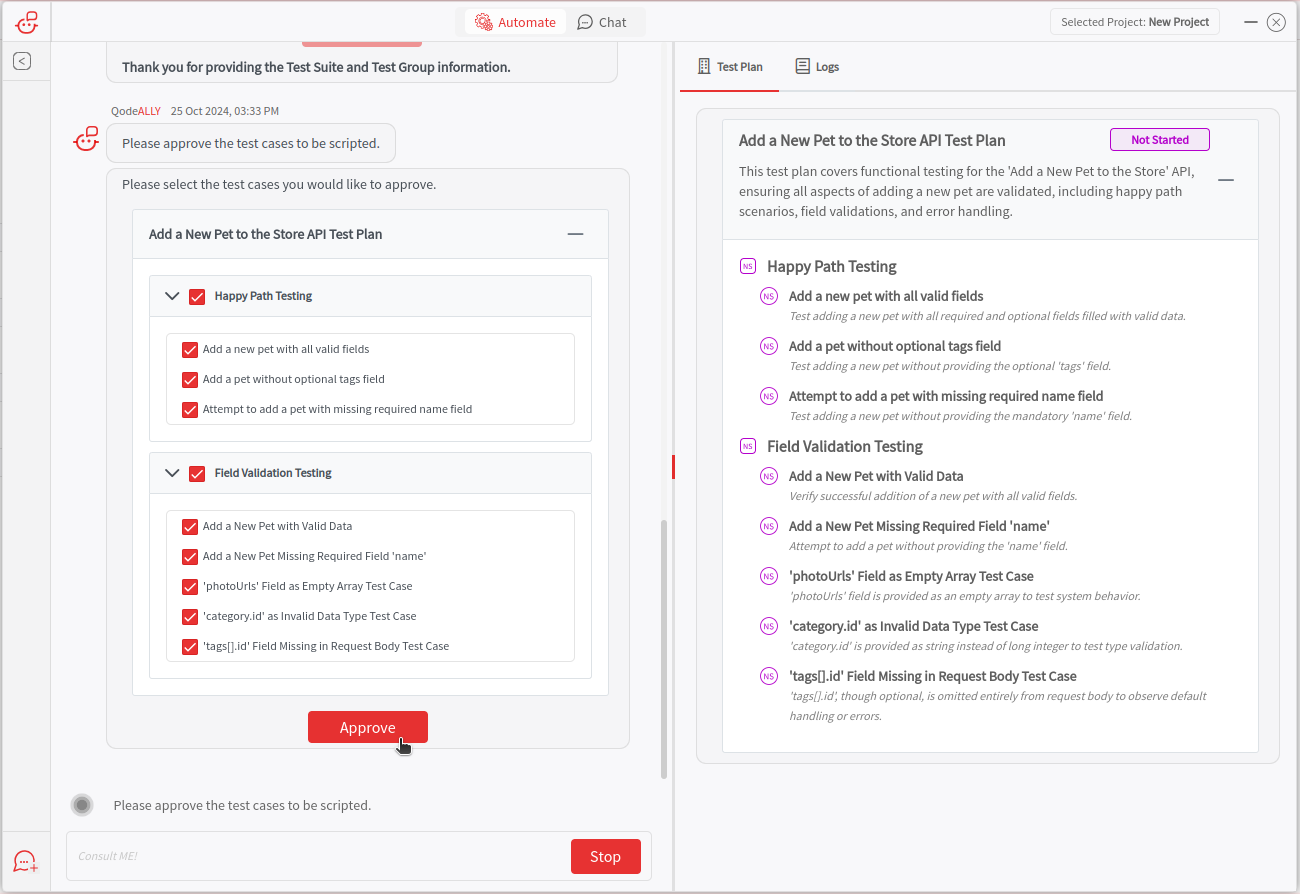
Select Test Cases
When you submit the Test case, QodeALLY will show a list of Test Cases that will be generated. Users can review, select, and approve the specific test cases as needed.
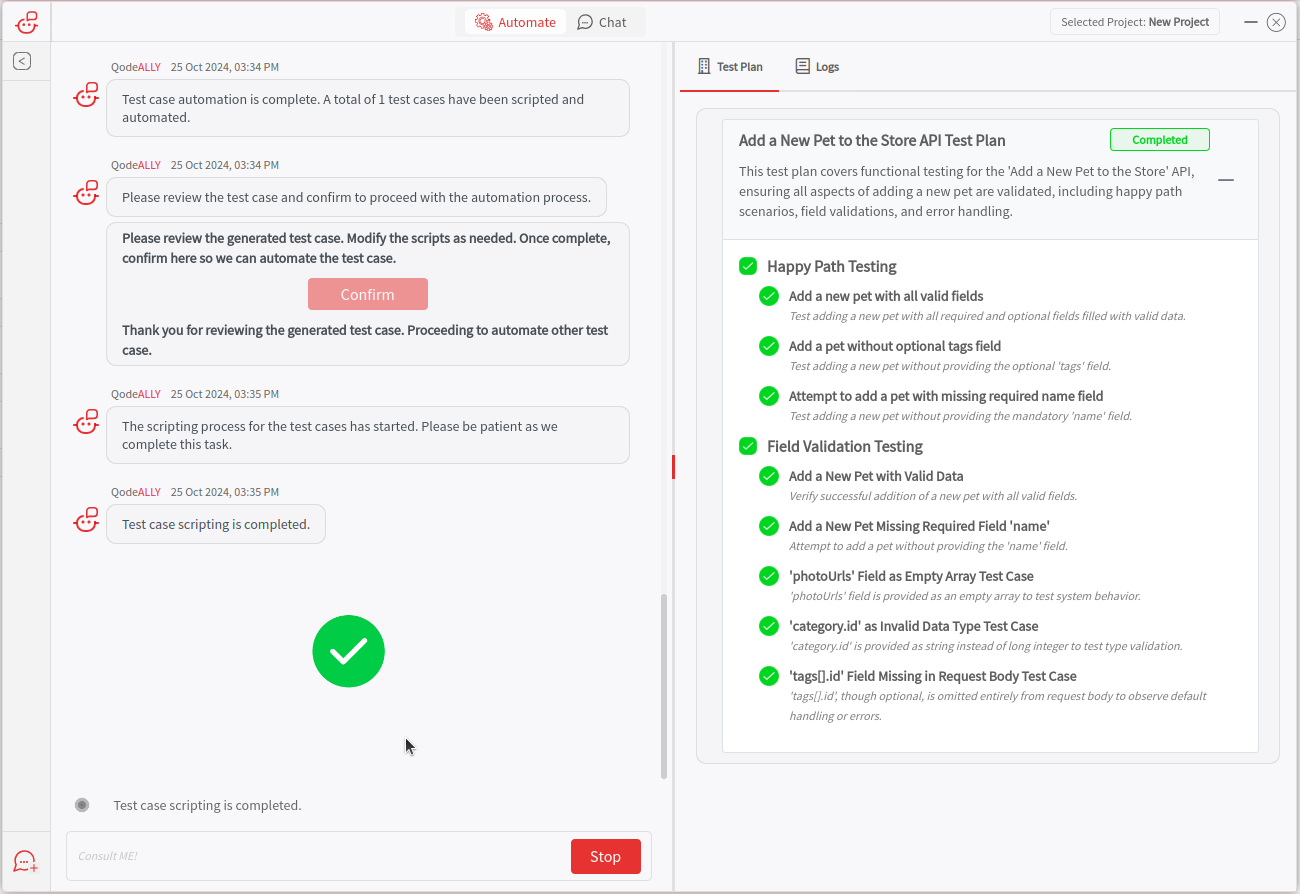
Script the Test Cases
On approval, QodeALLY will start scripting the test cases. This will generate the test scripts that are actually needed to validate the API requests.
Upon completing the creation of the first test case, QodeALLY will prompt you to review and modify it according to your preferences. This first test case serves as a blueprint for the subsequent test cases that will be generated.

Approve and Continue
When you approve the first test case, QodeALLY will continue to work on all the remaining Test cases that are waiting to be processed.
Save and Finalize
Please check all the below settings before you save the Test cases.
-
Variable Setup: Ensure that all the necessary variables are added in the global or environment scope. This setup will allow consistent access across tests.
-
Assertion and Pre-Requisite Script Checks:Review assertion scripts to ensure they are accurate and validate expected outcomes effectively. Additionally, verify that pre-requisite scripts are correctly aligned with the test logic to support successful test execution.
-
Save the Draft: When you click the "Save" icon, all the draft test cases will be saved and finalized.
This comprehensive quickstart guide should help you effectively use QodeALLY Automator within PostQode.